Wednesday, 13 October 2021

Thomson River - 7

 The mood of the place has changed, Sydney is now out of a 100 + days lockdown from covid and we can actually travel more than 5km from home. Whoopee. But on the first day of 'freedom' we all travelled down to a local village of Brooklyn situated on the Hawkesbury River. I have been hanging out for a feed of fresh fish and chips, a lunch we often partake in. If you are lucky we can get a spot overlooking the river and more importantly the main northern railway line where trains have descended the steep Cowan bank, head across the causeway, into the tunnel then cross the second Hawkesbury River bridge. Trains heading towards Sydney are spotted by their headlight coming out of the tunnel, then they power up to head up the long Cowan Bank.

Anyway the first favourite shop was 'closed' with a note on the window saying that they would be open the next day. Bummer. And the next two shops that could satisfy my craving were also closed. DOuble bummer. So not to be outdone we headed home and stopped off at a place called 'Pie in the Sky' who do great home made pies of many flavours and also do a great fruit pie and the obligatory coffee to take home. We shall try another day!

With over 100 days locked down you might be thinking that the layout would be finished but not yet. I have found the bridge project a big time absorber. Sometimes I just pull up a stool and seemingly stare at the layout trying to work out what goes where. It is important to get the sequence of 'builds' done in the right order.

Frame for the backdrop
So logically I needed to start at the wall and work forward. I made a mistake (I think) by using my longest bit of timber on hand which didn't go the full length of the bridge baseboard. So I centered it which left two ends to be made and fill in the gaps. To make this story sound worse I only live five minutes away from a timber yard. Anyway I am comfortable that the end product will work. I will leave the backdrop story to another blog entry. While waiting to get the backdrop photo finished I worked out that I could start working the scenery down from the Pambula end towards the river.

The Thomson River baseboard will eventually be removed one day in the future and as it is already attached to the adjacent boards I have no idea how heavy it is or will end up. Just hope some strong guys turn up that day. To help towards that I have been using foam as a scenery base, one is that it is easy to work with (but makes a bloody mess) and two that it is virtually weightless.

Messopotamia 

You can see from the above photo why I am reluctant to lay the carpet tiles that have been ready waiting for a long time to be laid.
I made sure I purchased a water based glue so the foam didn't disappear my eyes. It is also good in that you can remove any glue you get on your good clothes (accidentally of course) before the boss of the wash spots it.

Trying to mimic the landform of the actual area there is a slope from the existing scenery running down to the river which I am trying to copy. Until I get the backboard in place then I have been concentrating on the foreground scenery.

After the foam is in place then the bridge supports were put in where they were needed. The bases will be completely covered so at this stage it doesn't matter if they are too large. They will disappear. At this stage is just sitting in position, one reason is that I need to go to Bunnings to get some long thin screws to secure it. I really need to do this as one day when it is going to its new home, it might get tipped upside down and the bridge would fall of. Ouch.

Yellow foam used for rockwork

First coat of paint

 
Blending the existing with the new

Blending closer
I needed to blend the existing baseboard that runs from the bridge up to Pambula, so more yellow foam has been used for rockwork. I quite like the use of this foam for rockwork now over the previous plaster I used. It is less messy and depending on how good the carving and final paint job is it comes out fine and less weight. As with all scenery work you can't expect it to look good until the end, but it gets better along the way.

Retaining walls added
In the above photo I have used Paddle Pop sticks cut in half as a cheap timber for the retaining walls. Once coloured up and weathered they come out good. Also I have painted the foam so that it looks like dirt underneath if I miss any scenery on top.
Starting to look OK
The above photo shows progress so far. I used a scenic mat that I had around since the HO days. It didn't seem to work on the old layout but rediscovered now it seems to work well. I have blended it with other bits of scenery. Just remember if you want the scenery to look realistic then you have to be ready to fork out for good material. There is so much great material now available, a far cry from the old days when we though a bag of green lichen was fantastic. No compared with todays material it was crap. So do yourself a favour and spend and get the proper material. I can thoroughly recommend the Modellers Warehouse in Brisbane for the best material available. The do a quick mail order and have a big range. And hopefully when this covid is all over they will return to do the Sydney exhibition circuit.

Hopefully next blog I will be able to show the backdrop scene.


Wednesday, 15 September 2021

Thomson River Bridge - 6

 Time hasn't stood still on South Coast Rail. I can't even blame the covid pandemic for slowing things down but that isn't the case. Even the recent days of summery heat and the following day a drop of 10 degrees hasn't stopped work.

The bridge has advanced along far enough to make the decision to cut the track from the temporary track that has been in place for a long time. It was always a temporary section on this baseboard to enable work on the bridge to take place in front. It was time to alter the woodwork to accommodate the new alignment from either side. Coming out of Broadwater the track swings around 90 degrees and then through a gentle curve line up with the bridge. This side represents the Moe side on the real bridge. And after crossing the bridge a right hand curve allows the ascent up into Pambula. There is a level crossing where many a photo has been taken as this board has been sceniced well before the bridge was to be finished.

The temporary track has been lifted

The lifting of the track behind the bridge now means that the continuous circuit will not be available until the new track is laid across the bridge. This is not really an issue  as once a train leaves the terminus at Eden there is a choice of going up to Broadwater, reversing there and either coming back to Eden or proceeding up to Bega. The other direction from Eden goes straight up to Bega and then a choice of going to the branch terminus of Candelo or onwards through Wolumla and then terminating at Pambula. So you can see that while the bridge work is going on there is still operation possible. Having said that I tend to put the energy into finishing the bridge rather than working a train, that will come later.

Down the hill and straight across


As can be seen in the above photo the track from Pambula will come down the hill with an S bend and then head straight across the bridge towards Broadwater in the distance. Initially the scenery on this board was done without knowing how it would blend in with the scenery on the bridge board. The bridge has been done to scale measuring around 1.9 metres long but the restrictive part is the width that I have to work with. When the scenery gets more advanced there may be some compensations to be made to 'squeeze ' it all in.

One thing I have purposely done on this layout is to try and not have the tracks parallel to the baseboard edging. This is evident with the bridge in the following photos. I just think it tricks the eye into following the track along. Anyway that's my style.

The Broadwater side of the bridge

Reverse view of the previous photo
Currently in the centre of the bridge is a piece of aluminium channel that is holding the bridge rigid. Part of the channel was removed to allow the truss section to be fitted. The sections either side of this are able to be glued to the full length of the channel. Once the bridge is settled down onto the piers then the top channel can be removed.

Looking up from below

Final position of the bridge, back temporary track now gone

Partial fascia to allow ground work to be formed

After this advanced with the bridge I thought I had better start trying to work out how the groundwork will fit in either side. I had some white foam (it actually was from Mr White). While the bridge might be a fairly accurate model of the real thing the landform will need to be modified to fit into the available space. I have photos I took on site some time ago and are trying to follow the real site but as the build gets further on I have the feeling mods will need to be made. The limited space will dictate this.

The two end trestle supports rest in their eventual position

The build certainly has been a slow one but it is a big project and I don't want to take too many shortcuts. As said before the plans for the bridge give a rough idea what the general outline is but the measurements are unreadable. But I am happy with what has been done so far.

Trying out for size
The last shot I couldn't resist putting a loco on a piece of track on the bridge to see how it looks. I reckon once the scenery gets done in this area it will look great. Again that will be for another day and another blog.


Saturday, 21 August 2021

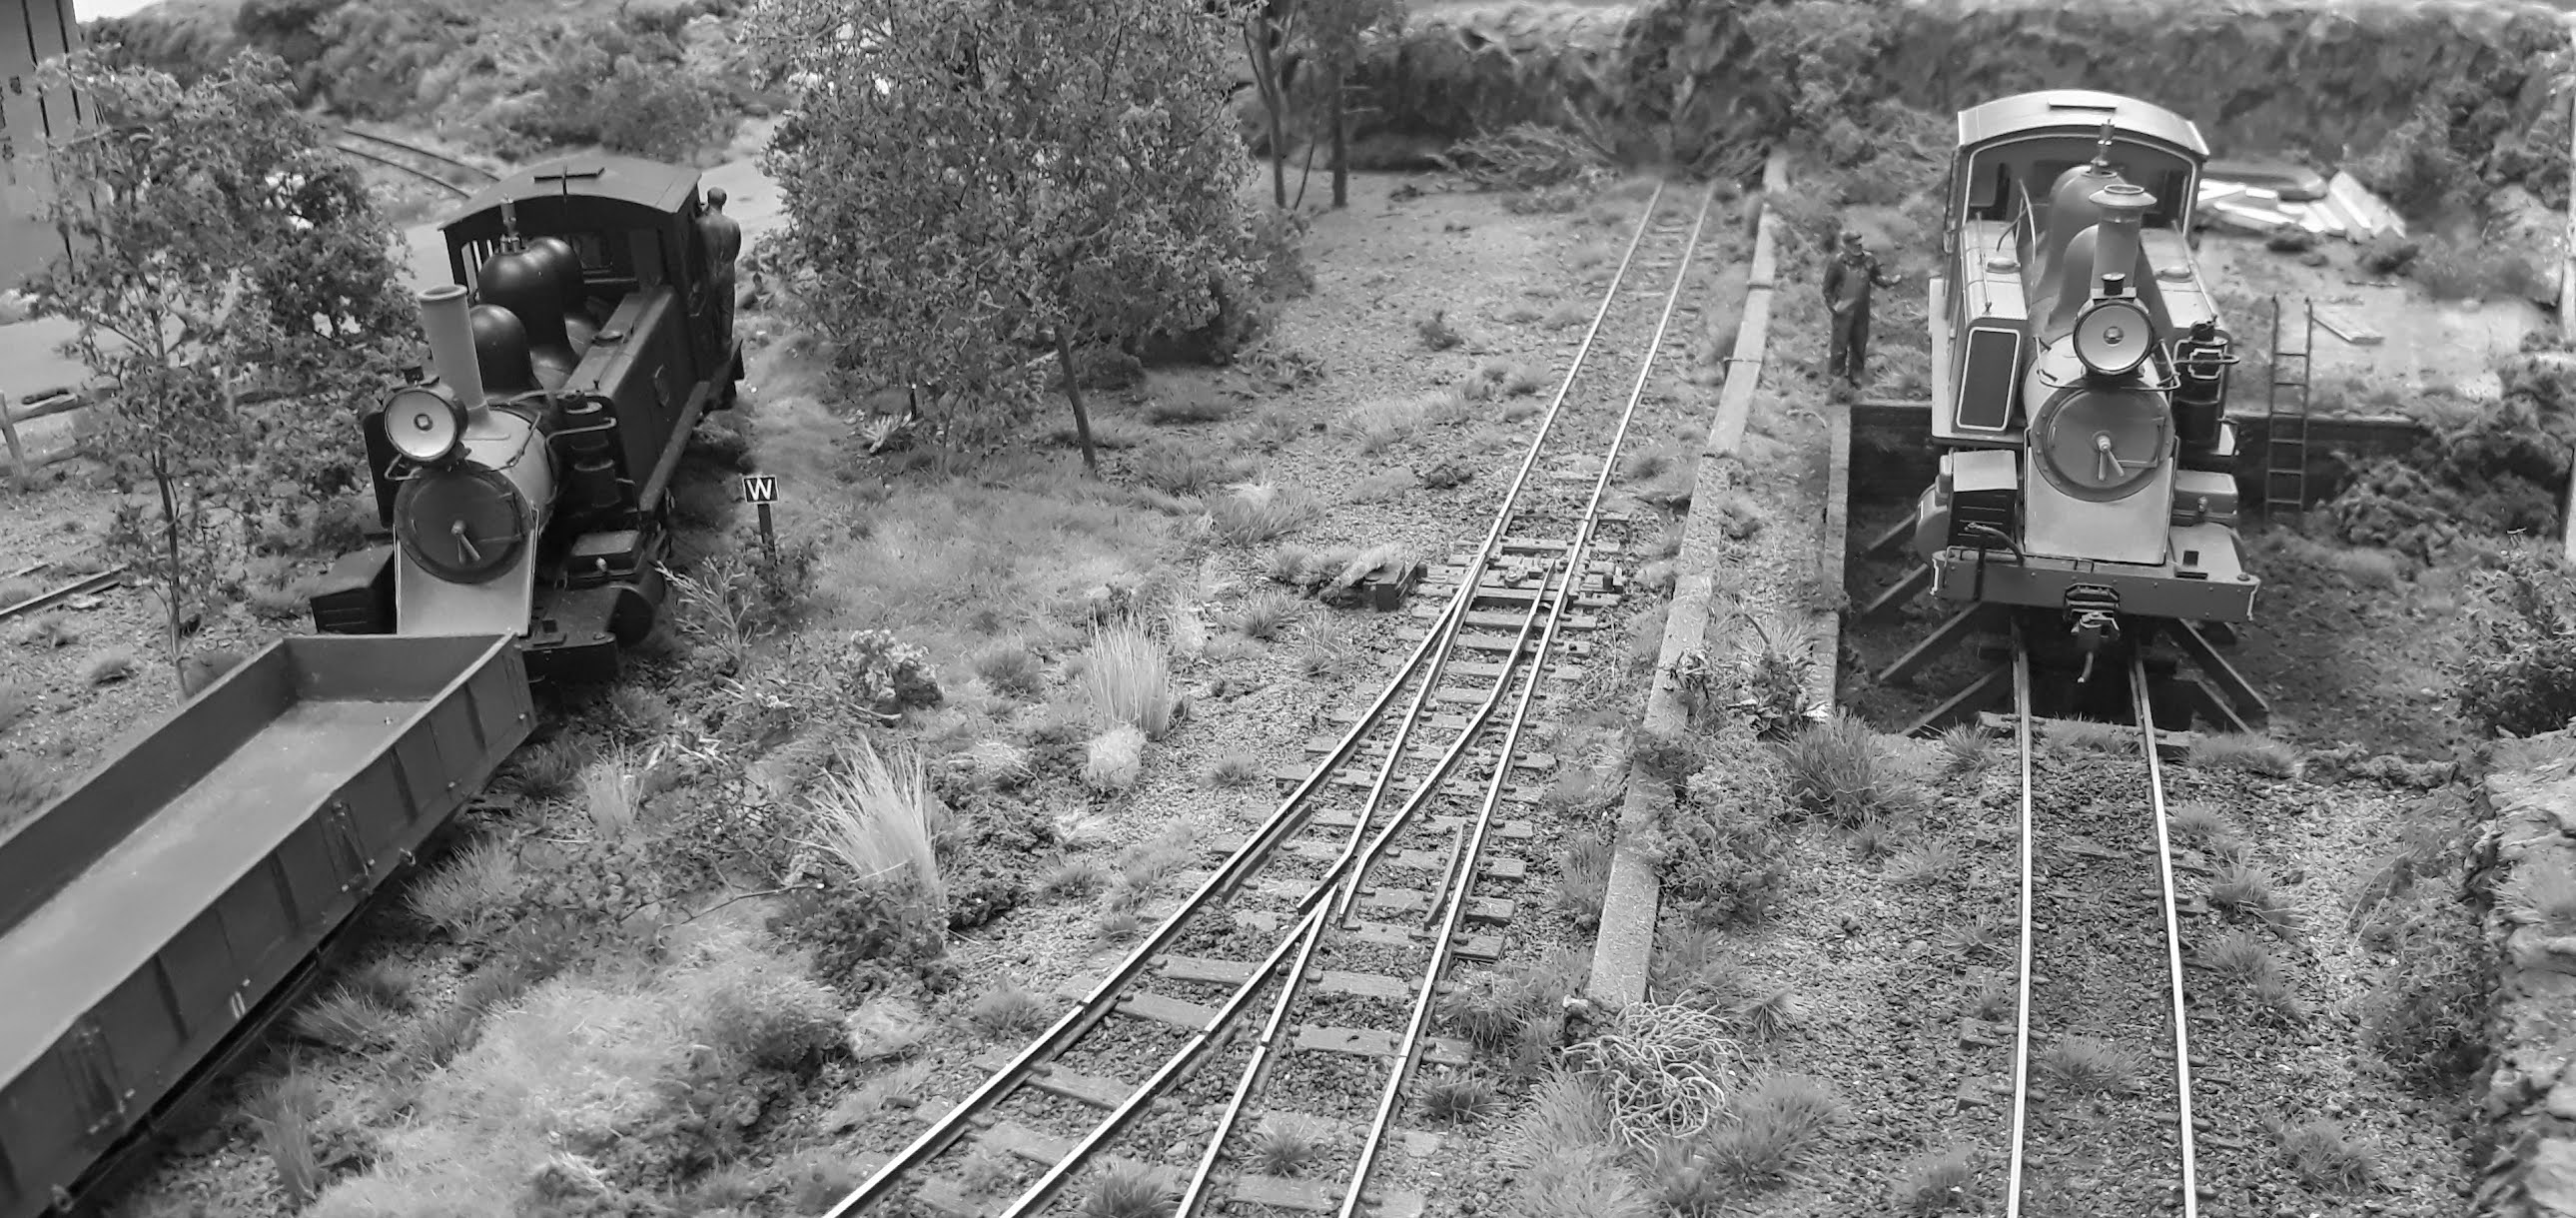
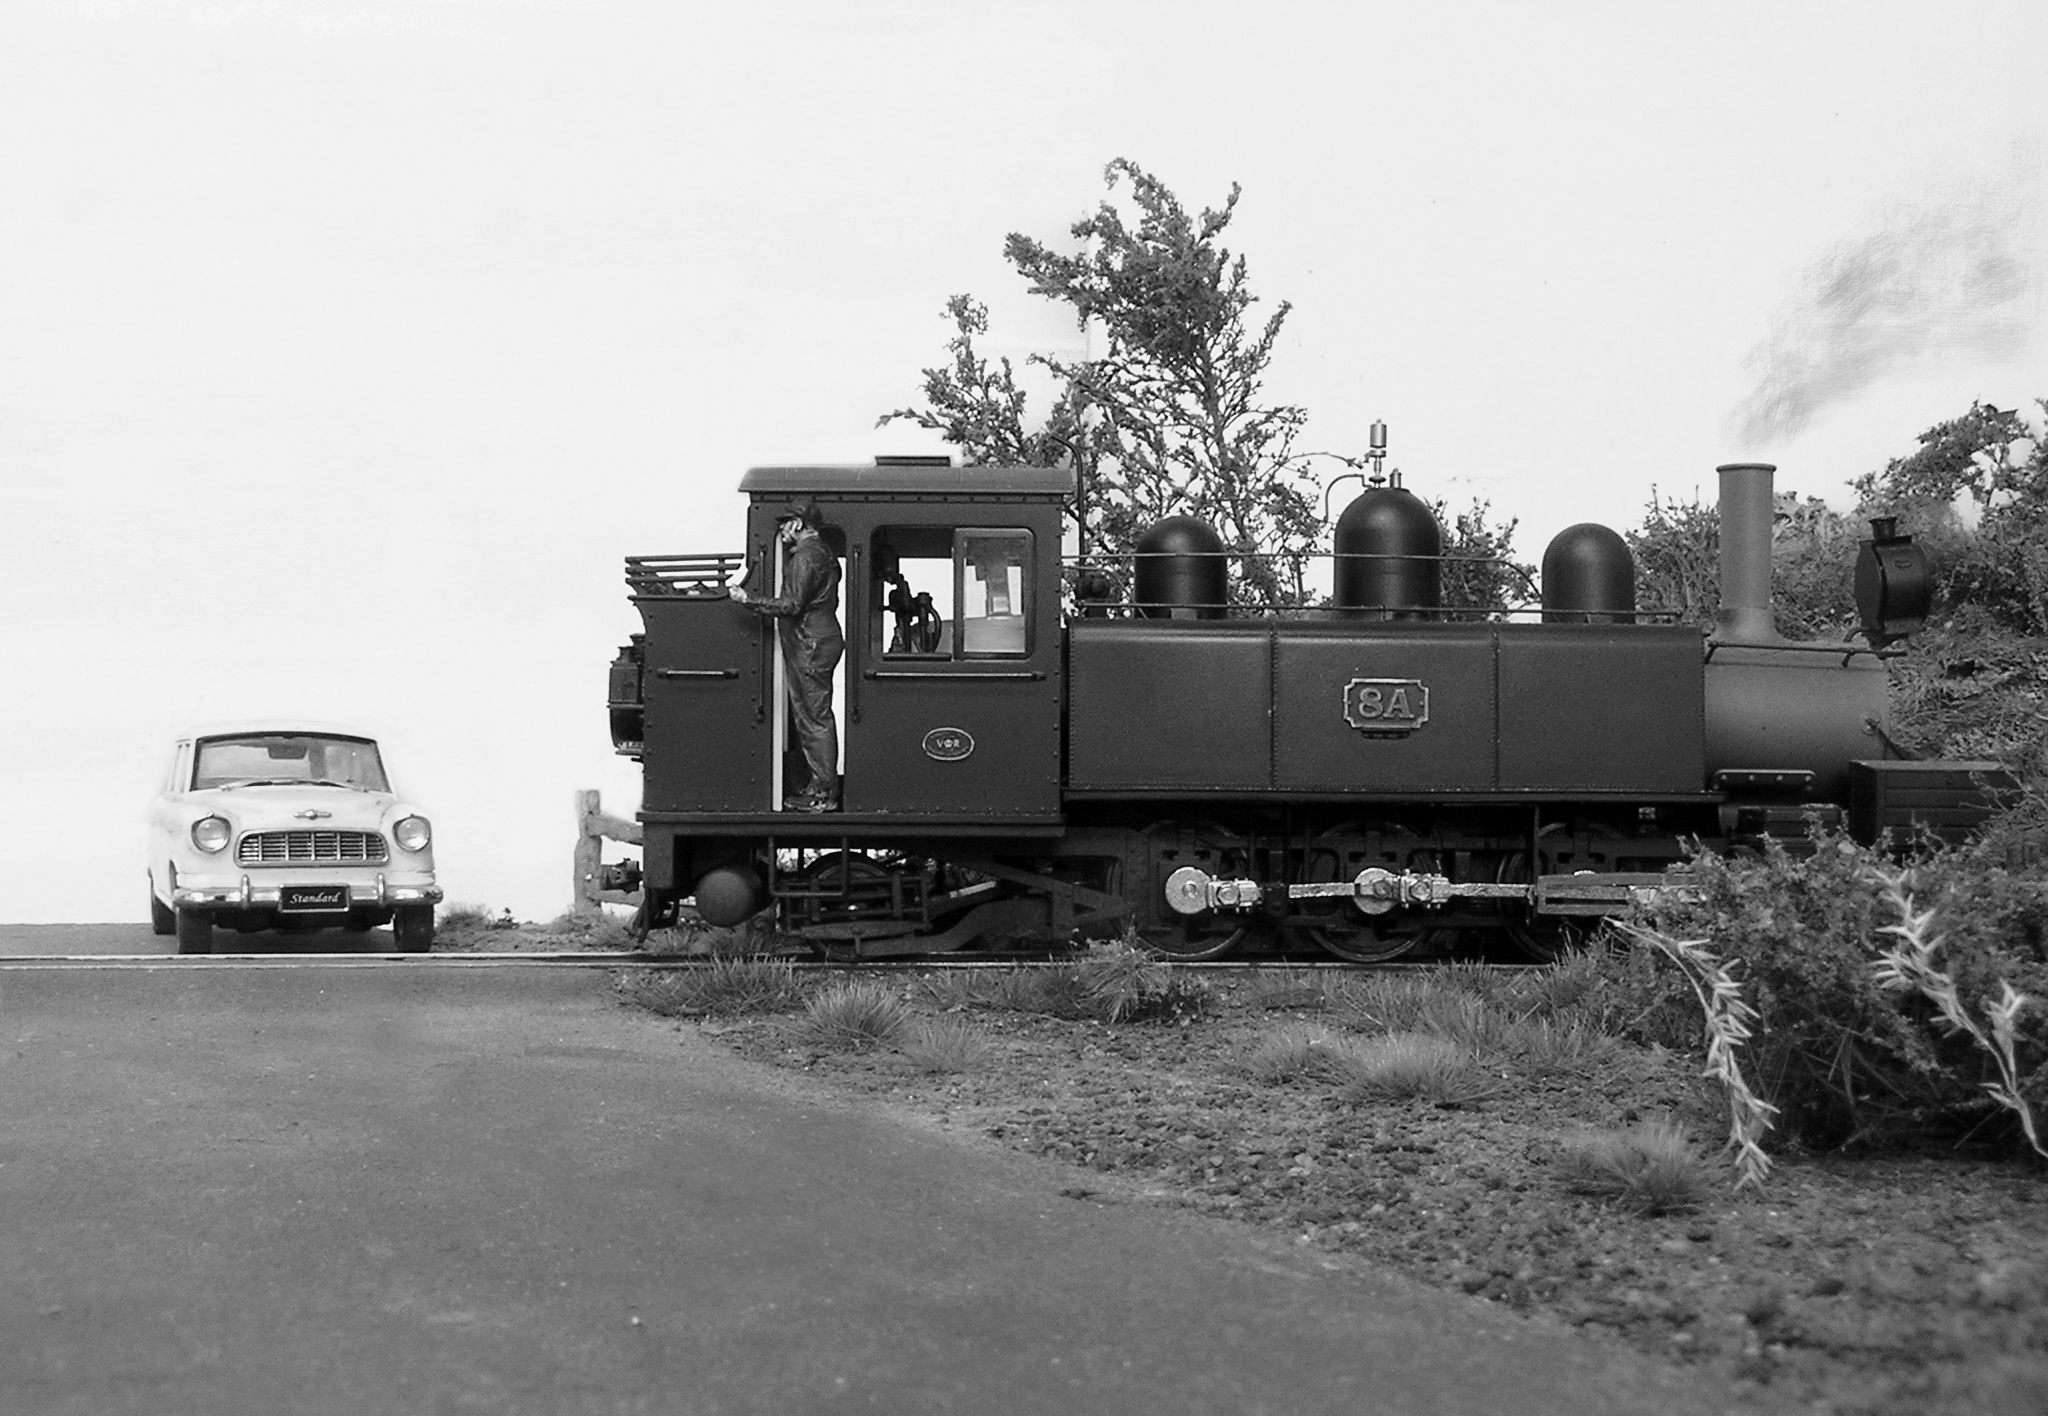
B & W's

 While work continues on the layout as covid decrees, I have been taking photos all the time recording the growth of South Coast Rail in its narrow gauge format.

Some pics out of focus are deleted straight away (the beauty of digital!), some just make it into the various folders and some just turn out right. Another great feature of the digital age is the ability to instantly turn a colour photo into a black and white one. Then the photo takes on a different feel, maybe taking me back to the days when black and white was all you could afford.

I have managed to run through a selection of colour photos and converted them to black and white. No labels attached, if you have been following the blog you may know where they were taken.


Friday, 13 August 2021

Thomson River Bridge - 5

 You would actually think that my model of the Thomson River bridge would have been up and running by now knowing that I have started on it around three years ago. It probably would have been finished if that was all I was working on. But there has been a lot of other things going on both inside and outside of the shed.

I have got to the stage where I needed to concentrate on just the bridge module. On reflection I sometimes wonder why I decided to tackle the project in the first place. Although modelling the fictitious  South coast of New South Wales and the Thomson River was not in that region, I figured I need a focal point in the room. I had no plans, no photos only a few pictures in books that I was slowly acquiring. Yeah looked a challenge so the baseboards were made, long enough to accommodate a model of the bridge that works out around 1.90 metres long.


Very early days working out where the bridge will go.

 So after all these years things have been moving forward especially with some help from a few friends. Without their input the end result may not have come out well. Initially knowing that the end product would be some time off I added a temporary track around the site where the bridge would go so I would be able to have some operation around the work site.

Temporary track
The bridge is constructed on a full length of aluminium channel that provides a solid base to be able to glue the bridges side to. So the top is done, the sides finished and countless nut and bolt casting put into place. The normal viewing angle will be looking down so under normal times the underneath will not be viewed. I could have just left it at that but I thought what if photos are taken underneath looking up and the aluminium channel is visible?

So even though it was going to be a long job to fabricate underbridge detail, I felt the time devoted to it would be worth it in the end. Now to make matters worse as I have eluded to in previous posts, although I have a set of plans, they are virtually indecipherable. I only had a few shots taken under the bridge but only on the end nearest the current Thomson station. So what I have ended up with is basic supports that will look the part when and if viewed upwards. I think once it is settled into the scenery the underneath won't be visible anyway.
 

Underneath detail
The whole bridge was easy to flip over to allow work to be done. The full length can be seen in the above photo. It was just a matter of fabricating another channel of styrene to fit inside the aluminium one. It took a while but a small part of the brain said don't worry if it isn't a 100% job as most will never be seen once installed. Eventually I had worked my way across and installed the cross braces all done in styrene which is an easy material to work with.

Once the parts had been made for both sides it was then time for painting and weathering. First coat was a hit from Tamiya rattle can primer and then a darker grey to represent the steel work. I could have left the bridge brand new like when it first opened but I though it would look better weathered. Not having done much weathering in the past I had a go using a combination of various colours and a rust finish done with a rust paint and also by scraping some rust coloured chalk onto fresh isopryl alcohol. The end result I was happy with, so these photos might be the first and last time the underneath are viewed.

The underneath detail is complete

Rust added.

More rust

Where the bridge will join existing sceniced part of the layout

 So basically the top and bottom have been done, just a few more pieces to be glued up and then the bridge can be turned over for the last time and fixed into place. More on that next time.