After doing the maths on the plans I worked out that the
bridge would be around 1.90m in length. The baseboard was slightly longer to
allow for the river banks on each side and a run on/run off section.
Much brain scratching was had before I decided to utilise a
section of aluminium 'C' channel to support all the individual sections that
needed to be supported somewhere. The 'C' channel was sourced locally and
kindly cut to a two metre length at the store (a) because that was around the
length needed, and (b) a three metre plus length wouldn't fit within the
confines of a Toyota Corolla. I also got the offcut which would be put to good
use later. The 'C' channel was 32mm wide and 16mm high. I basically had to
guess this and hoped it would all work.
 |
| CorelDraw drawings to help with construction |
One great assistance in making the bridge has been the use
of CorelDraw to make various diagrams of the bridge to help with its
construction. They can be drawn to exact scale and in the cross section diagram
above I was able to see how all the sections would fit in together. I have been
using this programme for over twenty years and typical of many programmes I
only learn enough to get done what is needed. There would be many more uses
that I haven't discovered as yet. The drawings were not meant to be in the
engineering class but sufficient to enable early decisions to be made.
 |
| Pier numbering and pier heights |
Some plans exist that have been helpful in the bridges
construction, the above diagram shows the height of the various piers.
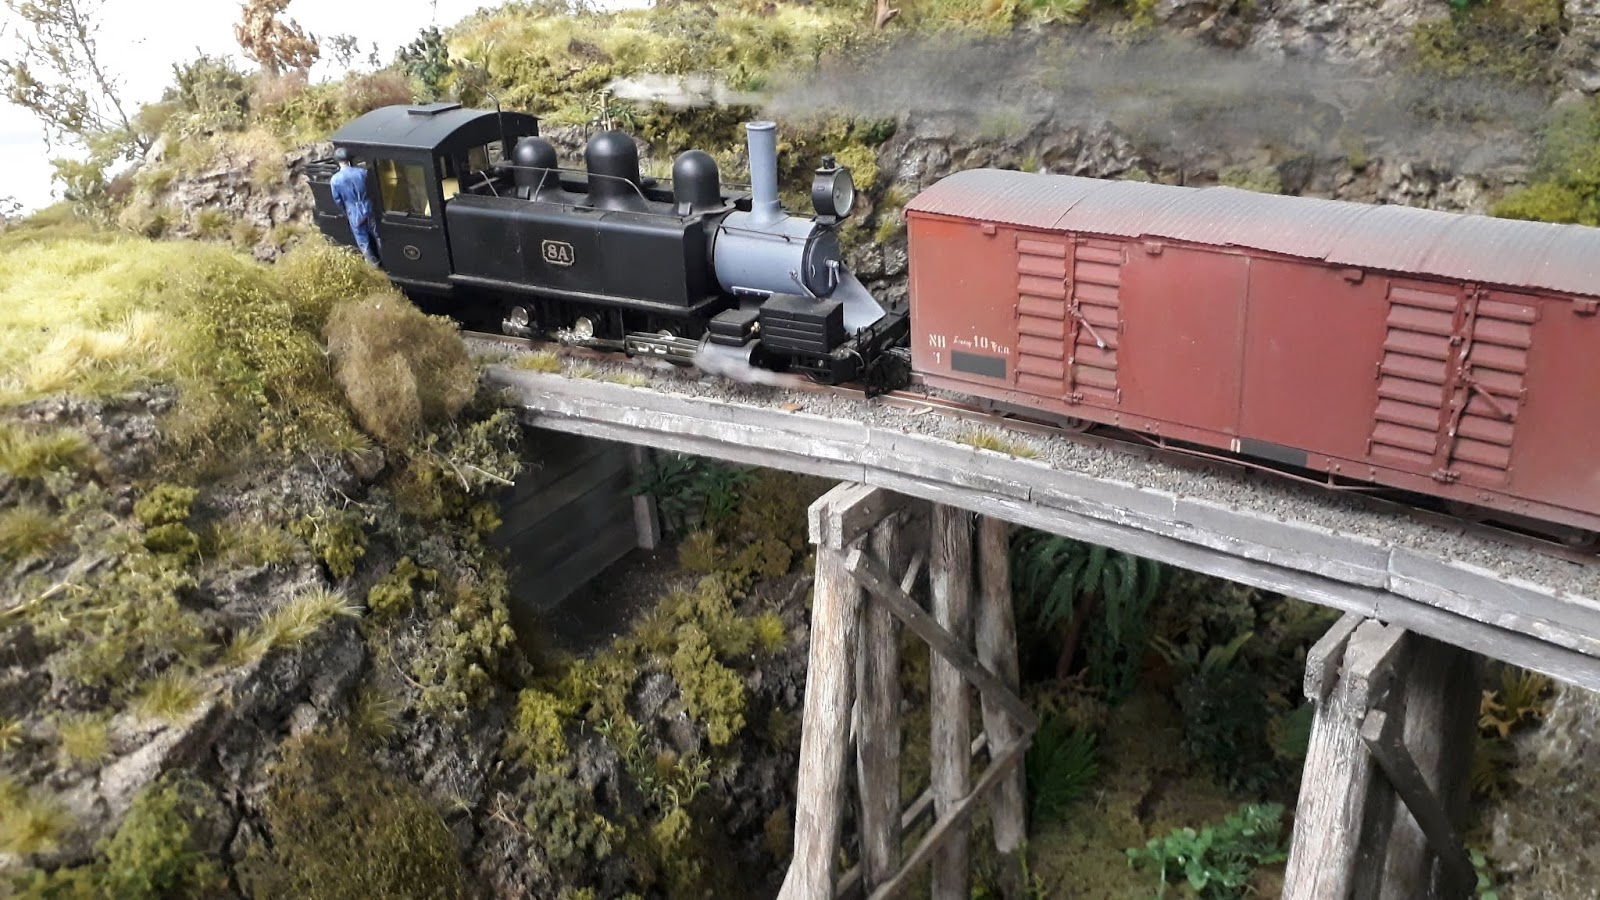
One of the standout features of the Thomson River bridge are
the four concrete piers. These are the signature pieces. The actual bridge is
really pure mongrel build. The truss in the middle and the plate girders either
side were recycled from other replaced broad gauge railway bridges. One of the
books I have in my collection "Steam on the Lens, Volume II" details black
and white construction photos. I have included two pictures from the book
that clearly shows the extreme conditions that early engineers had to contend
with.
 |
| Early construction photo from the book 'Steam on the Lens' |
 |
| Early construction photo from the book 'Steam on the Lens' |
I was wondering whether I had bitten off more than I could
chew when I decided to build the bridge. You can't foresee all the challenges
ahead but it is hard to pull out when you have gone maybe half way.
After spending hours studying plans and photos, I
decided to accept the challenge. But the biggest problem piece in the whole
build was how was I going to construct
the piers? The piers are a complex structure that are tapered on all sides. And
to make the build more complicated the front of the piers facing upstream had a
curved front so that any flood debris coming down stream would be diverted to
either side. The back of the pier was different having three faces. So all in
all a complicated build. I have already stated (many times) that I am crap at
wood work so wood forms piers were not on the agenda. My preferred option was
to use florist foam which is very soft, easily carved and suitably strong enough
to support the bridge decking above. This was to be the design material. But
during the course of research when I was on a forum, I came across a fellow VR
narrow gauge modeller, Roger Johnson. We have been exchanging emails back and
forwards on the bridge and both indicating a strong desire to have a model
made. Having made two brief visits to the actual bridge, I passed on all the
photos I had of the bridge to Roger hoping this would help with his build. It
was some time after we had been communicating that he told me he had obtained
an Aldi 3D printer. As Roger has 'draughtsman' as one of his skills, conquering
the trials and tribulations of a 3D printer should be made easy for him. We
were both working of the same set of unreadable plans, but on some of the plans
measurements were actually legible. He emailed me that he had done the pier capping
and would I be interested in seeing it. Yes of course. I think at this time I
was working on 'other' sections of the
layout at the time and the bridge was put on the backburner.
Then one day a courier came to the door with a large box
addressed to me. I knew I hadn't ordered anything at the time, but when I got
to open the box inside were many bridge section piers. When I realised what
they were for, I thought I had gone to heaven. After playing with the pieces
for a while I finally got them stacked in the right order and there before my
eyes was the reason to continue with the build.
 |
| The four piers as received waiting to be glued, coated and painted |
 |
| Early trial of colours |
The hardest part of the build was there just waiting to be
assembled. Roger has done a brilliant job on these piers and then I needed to
start gluing the sections together. There was some flashing at the bottom of
each section that was easily removed by sanding. The 'slices' fitted perfectly
together and being hollow a section of styrene was glued to the inside to
strengthen the pier. On two of the piers Roger has made the base but as I said
to him the only time I have ever seen the base in a photo was during the
construction of the bridge. Years of river flow past the pylons has seen the
bases disappear under piles of river gravel. To delete the base would result in
quicker print time and saving of material. The two middle piers are lower than
the two outside piers.
The piers were made using timber formwork. I expected that the
formwork timber grain would be more noticable
on the finished piers but I couldn't detect much in photos. You can see on the
piers a visible line that indicates where the levels of each pour finished, so
like rings on a tree it can be seen how many pours it took to finish each pier.
Towards the bottom of the piers can be seen some of the concrete chipped away,
possibly the result of over a hundred years of logs banging into them during
flood times. This would be called super detailing and could be included in the
model. I chose not to do this for my model. With loads of other work to be done
in the room I have to manage time and leave this level of detailing out. If
this was my only build then I could sink the time into it.
I needed to provide a smooth surface on the piers and after
some thought I dropped the option of sanding the sides and going with using
some Selleys Spackfilla Rapid on the sides. Although the horizontal grain of
the 3D printing may have represented the concrete finish Ok I was looking for
something that would readily absorb colour.
Once I got the four piers coated I then started studying the
pier colour to try and replicate the same finish. I must have looked at the
real photos for ages trying to work out what the actual colour was and put a
name to it. The primary colours and their variations are easy to identify, but this
is an un-named colour. Was it grey, creamy or some other colour? Then to
complicate the finish, there was years and years of weathering that would need
to be applied.
 |
| The base for the river is installed. Photos on the wall for easy reference. |
I have to admit that I have never really had a workbench to make my models, preferring to build the model 'on site' The photo above shows an old timber finish desk I was using for a workbench. It did the job but has to be removed to allow for the river base to be installed.
To be continued....................