Time for another update on how the Thomson River bridge build is going. Hard to believe it has been ongoing for over three years now and just another measure of how quick time passes by. Serves myself right for picking a signature piece that would take longer to build than I thought. To me there are at least three narrow gauge standouts on the VR system. One is the Monbulk trestle on the current Belgrave to Gembrook railway. Yes I have built my version of it. The second items I like is the station layout of Beech Forest on the closed Colac to Crowes line. I decided not to build it and have left that line to Mick Bennie who has done an excellent build on that line so far. That left the Thomson River bridge which I didn't think would take long to build. Wrong on that account. Plans were available but very dodgy in that measurements can't be read but clear enough to make out for the build. A couple of friends have contributed greatly towards the build and it would not have turned out like it has without their help.
So where am I up to? One of the 'scary' items I have to tackle is the 'river'. I am glad I am building the river now as without all the help that has come from the internet it would be pot luck.
Amongst all the videos I looked at on pouring the river most have said to make sure the river base was properly sealed or the river will end up on the floor!. My river base like the real thing is angled under the bridge. I also have made the bridge purposely not parallel to the baseboard edge as this to my eye looks better. What to use for the river base? Each time I went shopping I would eye off the large baking trays made from aluminium and thought this would be the way to go
The first aluminium tray is put into place
In the above photo on the first attempt the back of the tray didn't come up far enough so a larger tray was sourced. Another issue was that the trays are rectangular but they needed to be panel beaten into a parallelogram shape, not as easy as it seems. And one wasn't wide enough to go right across meaning two trays would needed to be shaped and somehow joined together. Also had to watch the tray wasn't pierced or that pesky resin would wonder off somewhere. So after much panel beating the two trays were joined together with 'no more gaps' glue. I liked that re-assuring name - no leakages?
 |
| Back section is glued into place |
You can see from the photos how much goes on in the build before the finished product is unveiled. Sometimes you look at all the crap lying around and think will it ever be finished?. The choice of the aluminium trays seemed to work out okay. I wasn't prepared to 'dry' test the base by pouring water into the tray, but with only the one joint between the two trays I hoped for the best. The above photo shows how much had to be cut away to make it all fit. The risen section in the middle of the tray was to take the right hand pier under the truss and was a close fit to allow minor packing for the final fitout.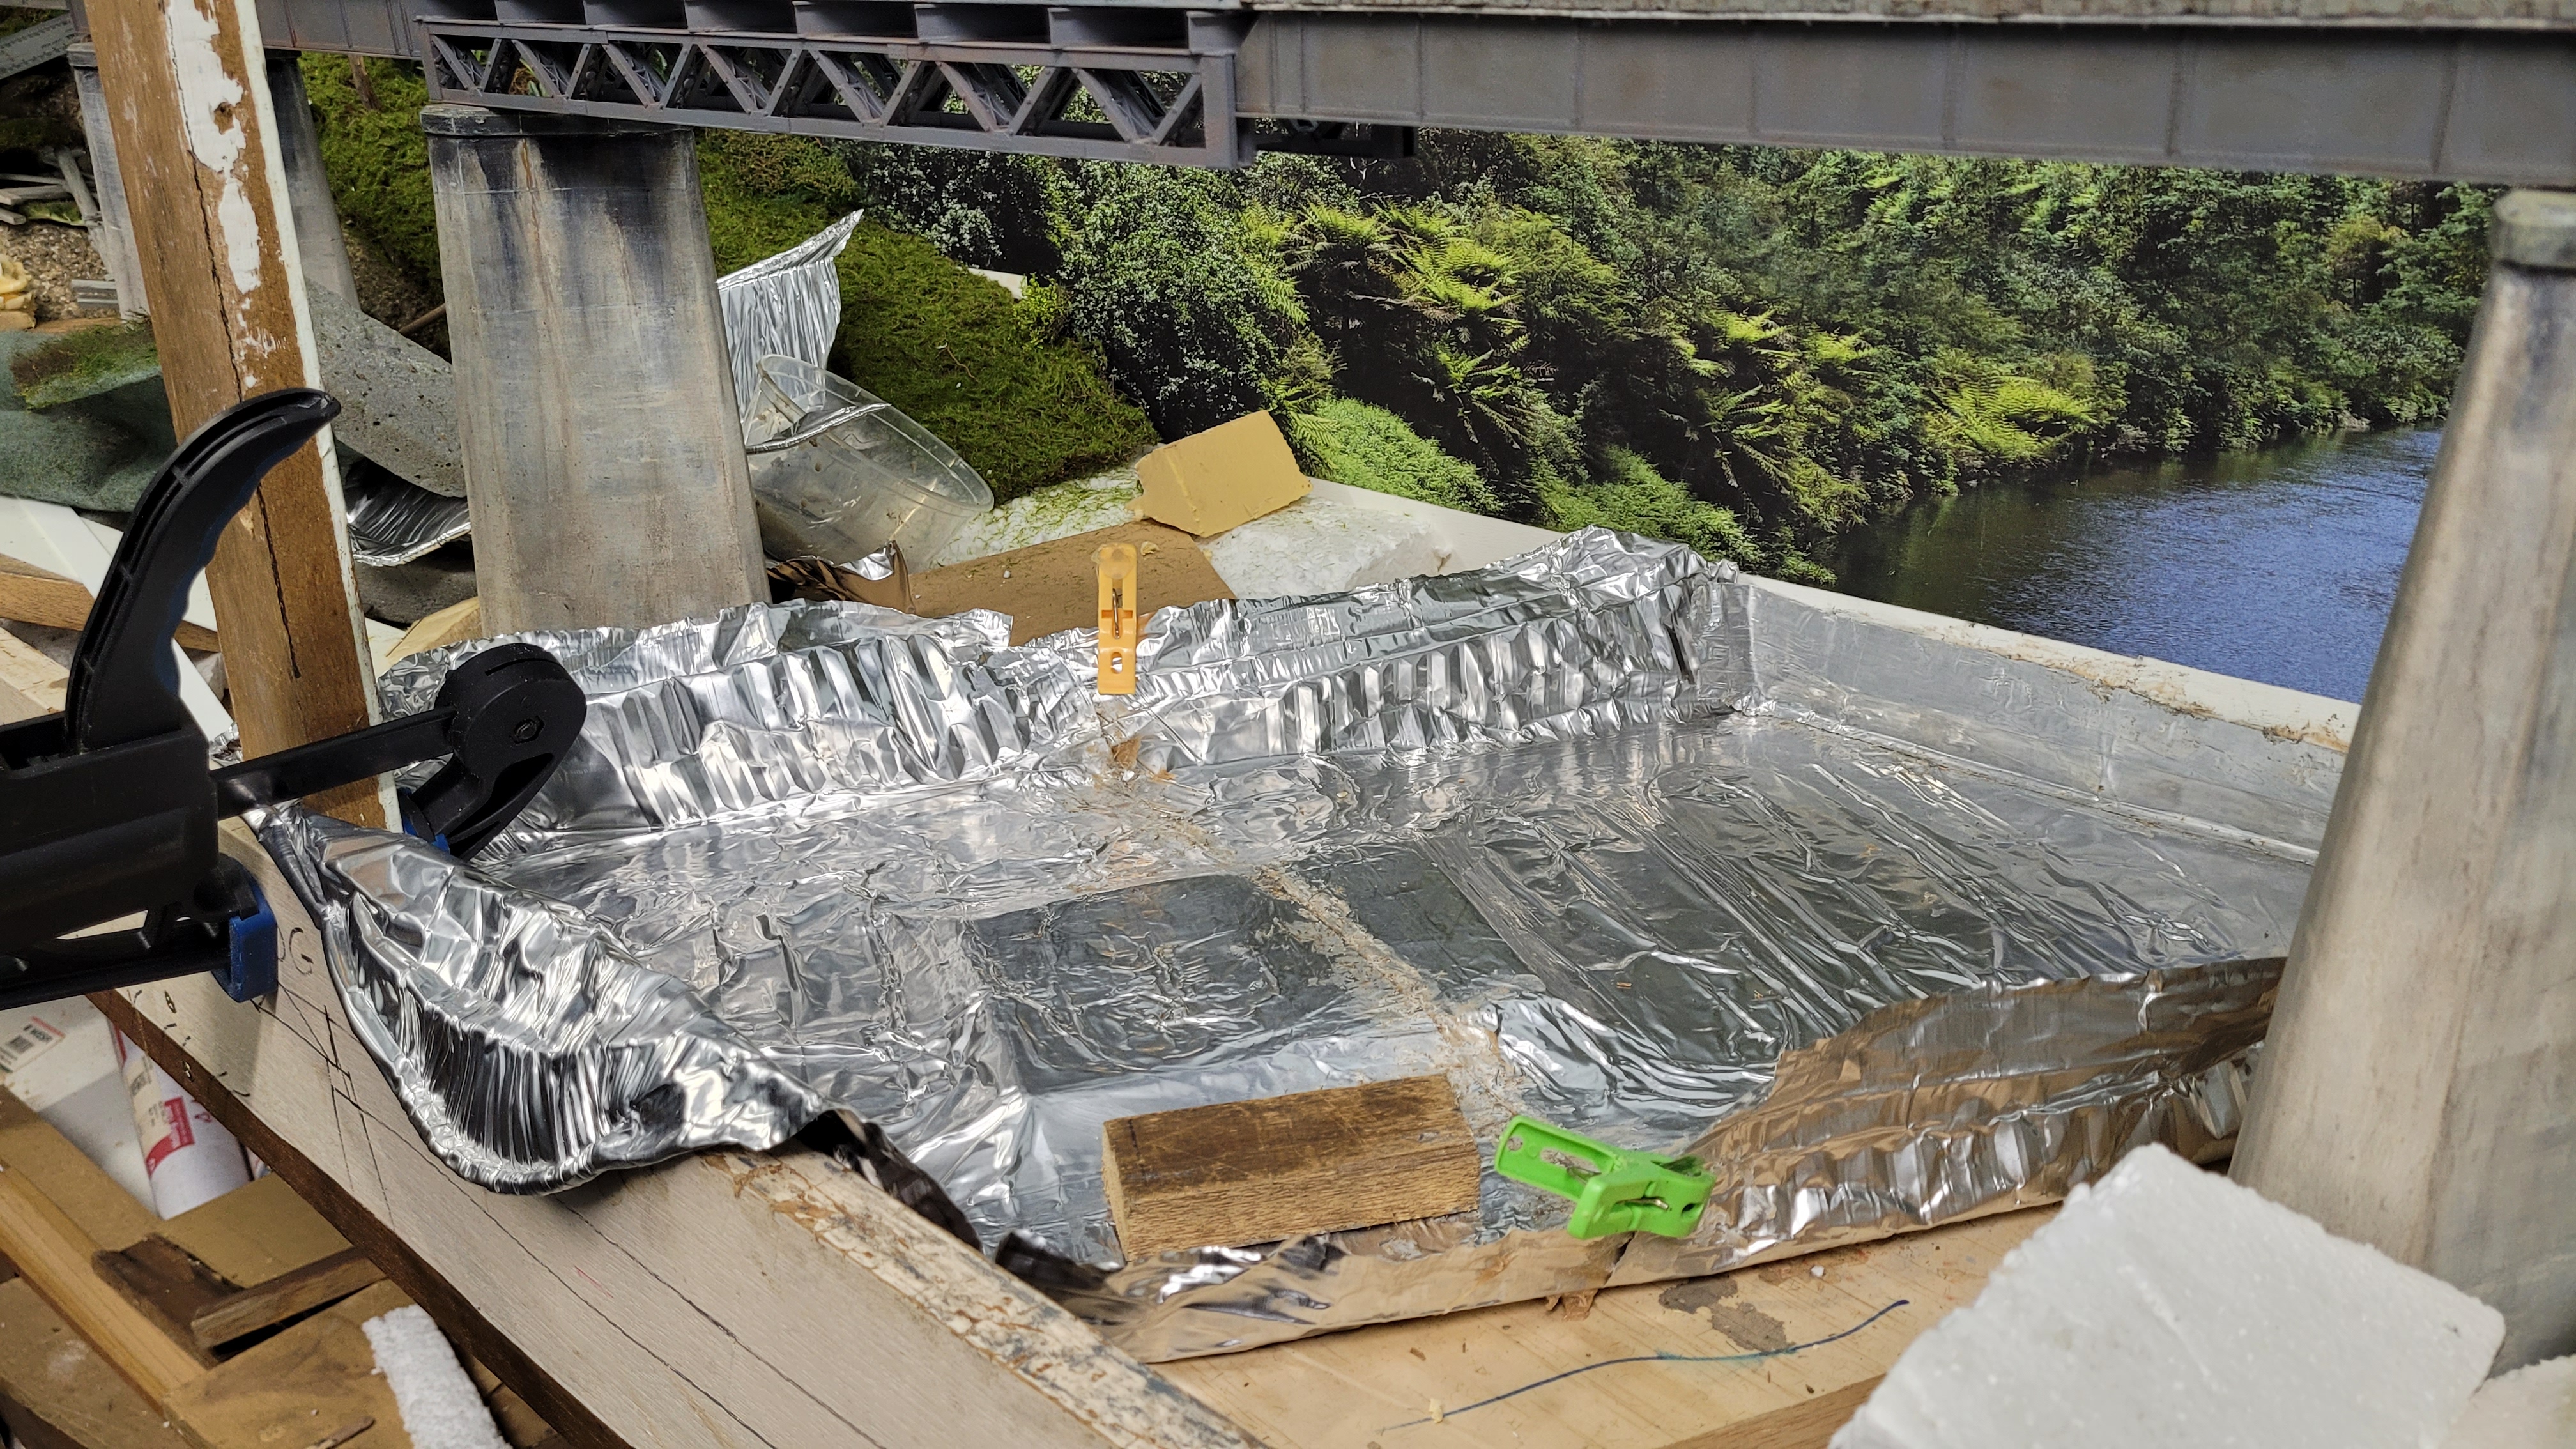
The second tray is glued in place.
 |
| Right hand bank |
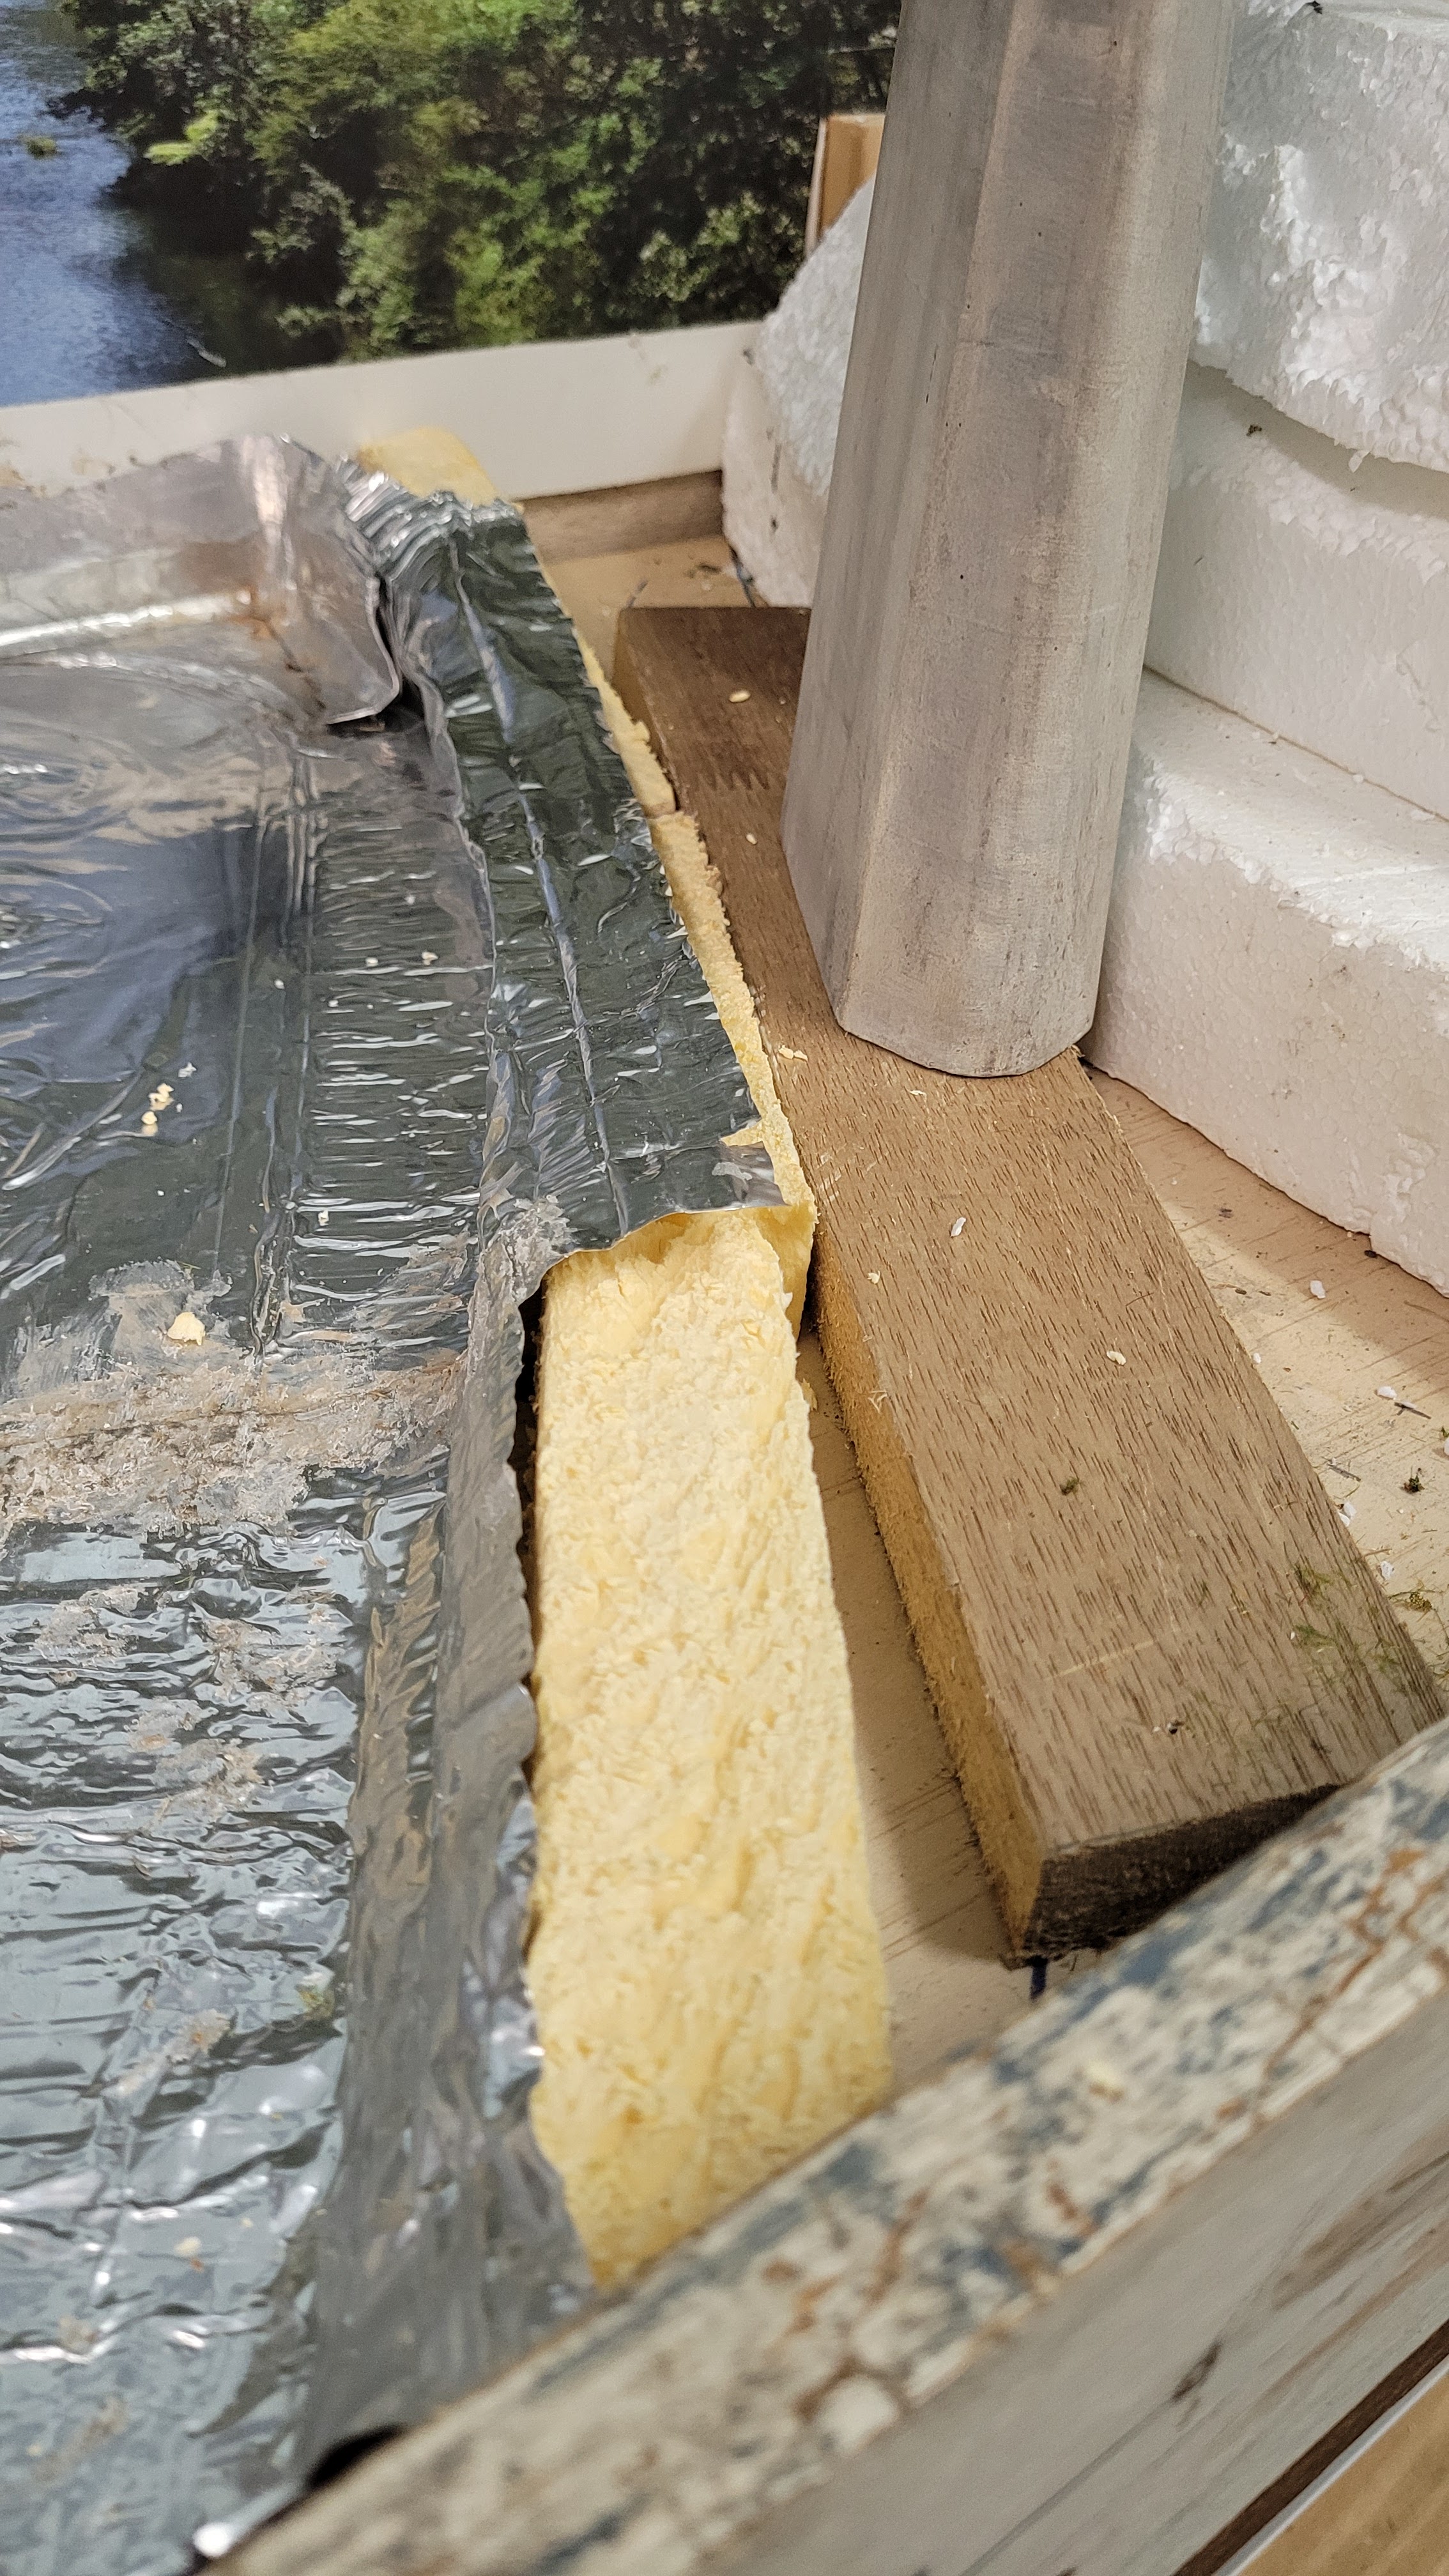
At this stage none of the piers have been secured into their final position and are fully removable to allow a clear workspace. The fact that the bridge has built around an aluminium ''U' channel allows it to be self supporting across the 1.9m length. It is often removed to allow easy access. The above photo shows a trial river base of crushed concrete. I didn't end up using it and found something better. I decided to tackle the river build before completing the scenery under the left hand side of the bridge. This gave me a defined river bank to work up to.
Trial run of river base
 | |
| Creating the flood zone |
In the above photo the aluminium tray was painted with a brown earth colour both to take away the shine and to prevent an silver shine that may appear from a scratch. It will all be eventually covered up with scenery.
Painted aluminium tray
 |
| Trial run for overflow base rocks |
Maybe I am making excuses but you can see that the bridge and scenery are are a big project to start and finish but I am in the home straight now.
I must be getting close to pouring the river, better go and look at a few more videos!