Monday, 25 April 2022

Thomson River bridge - 9

 Progress on the bridge has been slow and I can now nominate the working time in years now rather than months. At this stage there is no rush for a finish date and I have been slowly progressing with scenery work around the actual bridge.

I am glad I spent the money last year to sort out the drainage problems and water getting into the shed. With La Nina running beserk on the east coast of Australia at the moment it's hard not to get caught out. I am glad my slackness in getting the pile of carpet tiles laid has paid off, so when they finally get laid the floor should remain dry.

When I got the backdrop produced by Office Works the final print wasn't wide enough to cover the complete back across the bridge baseboard, which meant I had to come up with 'add ons' on each side. I was able to massage some local photographs of the area to be able to join and extend the picture. The idea was to taper the photo down to the top of the hill so it could blend in. I made some more timber backing boards to join the existing board. This was rather messy and in reflection initially I should have made the backing board large enough to extend right across the back.

The extension piece
After the left hand extra board was in place I then produced both the left and right hand blending photos. Again they were printed at Office Works. I stuffed up with the order as I gave them three separate files on the memory stick and was charged for three items, had I put the three pictures on the one file and cut them up myself I think it would have been cheaper. Live and learn.


Left hand side added

In the above photo you can see the additional piece in position, I wasn't worried that it wasn't a perfect match and that all of the picture wasn't in focus. It is just a background item and will be eventually covered by forest in the foreground.

The second piece I had to produce was to extend the river downwards as the initial bottom of the photo was set too high. I will need to match up where the two pictures join, cut and then blend the two, hoping it comes out all right. The is where the poured river will come up against the background. I am semi dreading this part as it seems you only get one go at this and hope it comes out all right first go.

The 'moss roll'

 I am always on the lookout for items that can be utilised in scenery work whether it be from real live such as branches, lichens etc or man made objects such as this 'moss roll'. I came across at a local artificial plant warehouse. There are many items you can get that can be repurposed for a layout. You have to be mindfull also as to what scale you are modelling. I get more scope as I am modelling in O scale so more items scale better. This moss roll is around 1.8m long when rolled out and is now sitting down the left hand bank hill and up against the background picture. As foam has been used to form the hill, I also found some long 'u' shaped pins at Spotlight which are pressed through the moss to hold it into place. This roll forms the floor of the hill and can also be cut and teased up for added variety. This item was around $18 which I consider good value.

All the 'extras' are added
 Once this underfloor mat is in position then all the additional bits of scenery are added. I believe to make it look good then you need plenty of variety. The above scene has a mixture of commercial scenery and a few home made products. We have progressed a long way from the old green lichen days and a re spoilt for choice. I will say some of the commercial scenery products are expensive but the end result I feel is worth it. Products from Martin Welberg, MiniNatur and other products that the Modellers Warehouse sell are worth the effort to obtain.

The bridge while in position is still removable until all the scenery is in place. I can lift it up to work there when needed. I am working down the left hand side towards the river and undecided at this stage if I will do the river next or scene up the right hand side then back to the river.

The hill is slowly sceniced
It is slow work to do the scenery, I put something in place then stand back to make sure it all blends in together. This especially applies to colours of items. Sometimes if the colour doesn't blend with the surrounds it catches the eye, and is then removed. It all has to blend together. Contrary to that statement the placement of stand out colours can drag the eye to that item as can be seen by the yellow flowers in the above photo.

Slowly but surely it all comes together  


Well that's where the Thomson River bridge build is up to at the moment, hope you have enjoyed the long journey so far.

Monday, 11 April 2022

A few more

 Work on the layout has been reasonably quite of late as you can tell by the lack of posts. One thing I have been able to advance are more "Other Side of the Track' pictoons. You can find them on this site on the right hand side, just click where the red arrow shows. Plenty more to come in future, enjoy.

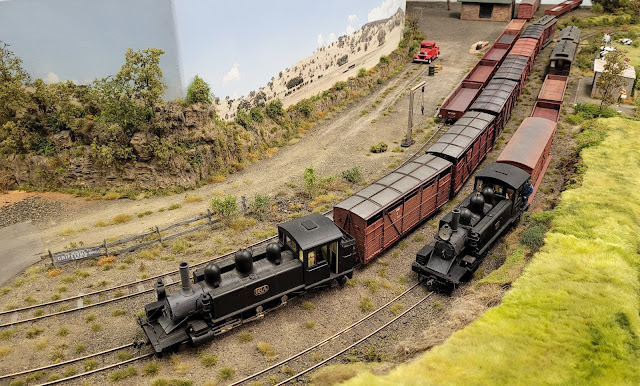
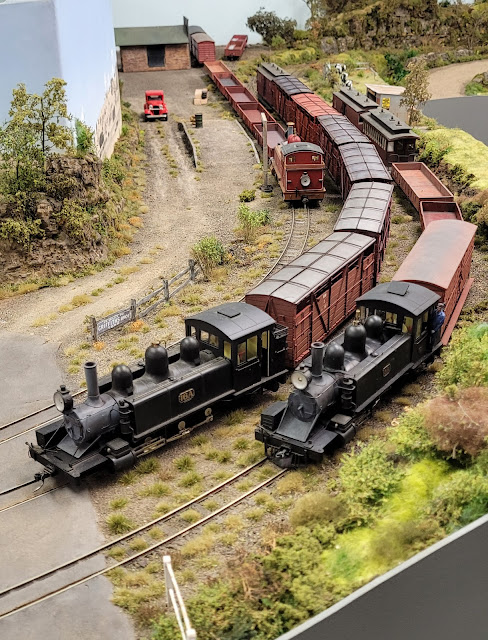
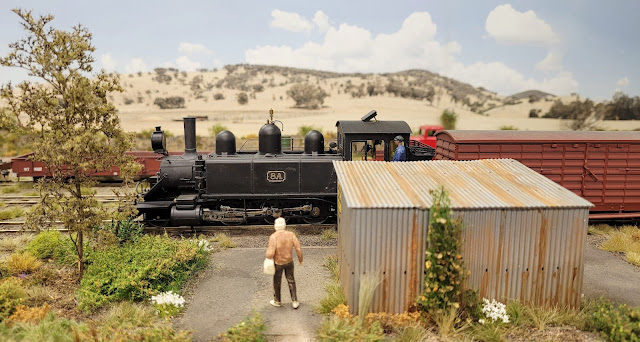
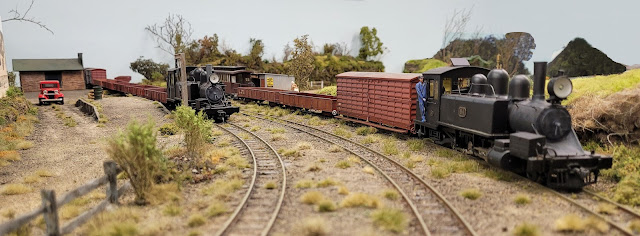
I will also add a few shots taken around the Eden ashpit where some of the crew were gathered preparing 8A and 16A for another run. The figures are by Andian Models and were painted by Ian Fainges.


Till next time

Sunday, 20 February 2022

Got a new one...

 Yes I've got a new one, a new phone that is. My older Samsung G6 has been replaced by another Samsung S20 FE. Now I know I missed out on the G21 and the recently released G22 but it all about the camera. I had the old one for over four years so in these days of built in redundancy it didn't do too bad. The new one still makes phone calls the same as the old one but the improved camera was the factor in updating. The ability to film in 4K even makes it better than my camcorder which boasted high def 1080p around. I remember when I purchased it way back in November 2012 mainly to be able to film my daughters wedding. Unfortunately it had broken down just before the big date and has been virtually left sulking in the draw ever since. The only drawback I have found with phone cameras is the inability to zoom in on a subject some distance away and be in focus.

So armed with the new phone I went down the shed and ran off some trial photos to see how it went. I must say I find them slightly better than the old phone but good results mainly hinge on the amount of available light. Look at how many photos look great taken outdoors in the sun.

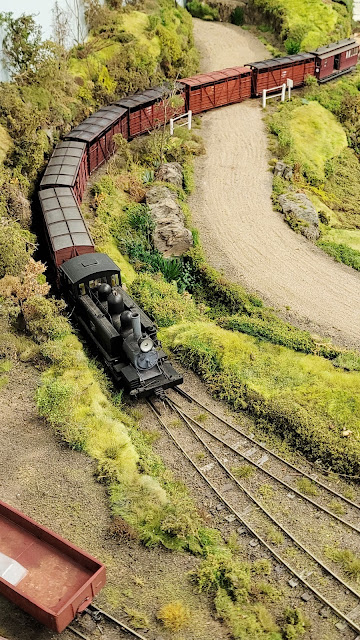
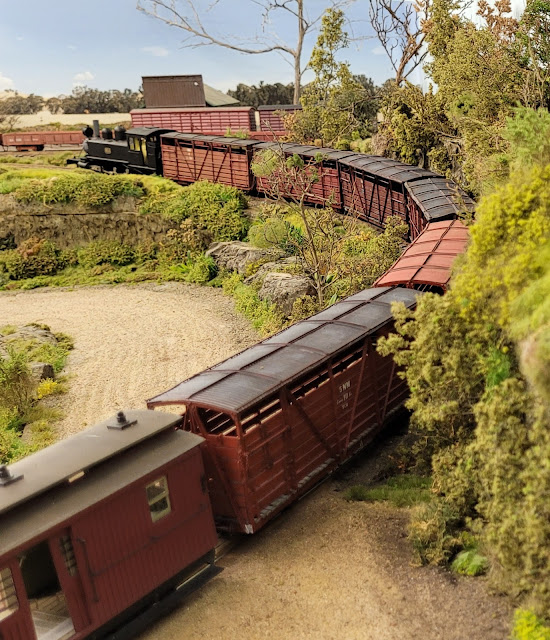
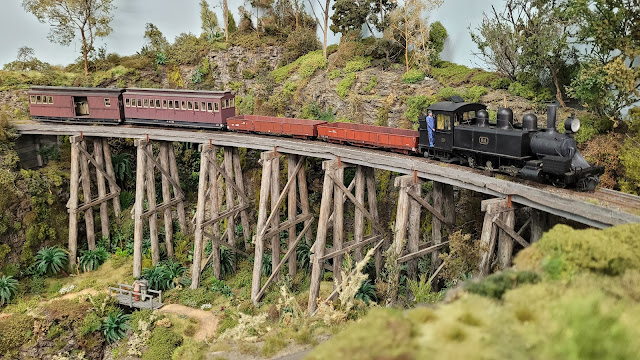
Here are some the results taken around the usual spots of Pambula and the trestle bridge:

Stock special waits for the mixed train to depart

Busy day at Pambula

Wait for me!

Pambula

Stock special enters Pambula


Nearly there at Pambula

 
Mixed freight heading for Eden


Some of the photos show a livestock train. There are six of these NM coded livestock wagons on the layout enough to have a special livestock train run. In real life there were fifteen of these wagons built and spread out over the four narrow gauge lines in Victoria. They are a nice piece of rolling stock from the Ian Lindsay workshops and a tribute goes to their builders Stephen Postma and James Black who did a magnificent job assembling, painting and weathering them for me. My rolling stock roster should now be complete with only the elusive G class garratt missing from the roster, maybe one day?

I have included two pictures of the bridge progress just to prove things are still moving along in that area. It is a complex build and I really need to think about ten steps ahead to make sure everything goes into place. Once something is glued, nailed, screwed and secured into place it can be hard to correct, so care required. That's not an excuse for the slow build but I want to get it right.


The pylons or trestle supports are not secured as yet, allowing removal of the bridge if required. The silver bit on the top of the bridge is a piece of aluminium channel being used as a temporary support until the end when it will be removed. This is the same channel as the rest of the bridge is built around.

In and endeavour to speed up the scenery work I found an old can of spray on scenery I used on the old layout. When I tried it although some spray came out it made no difference to adding to the scenery. It wasn't until I looked at the can and found out it was for HO scale and that's why it didn't work on my O scale layout. If anyone finds some O scale scenery in a can please let me know.

So we are moving along albeit a bit slowly. More updates next time.


Sunday, 16 January 2022

What 2022 already!

 Hard to believe that we are into another year. We still have the dreaded covid and its ugly cousin omicron hanging around. It hasn't changed my lifestyle a lot but the loss of model rail exhibitions and the ability to travel around has always put a damper on things. We just have to hope 2022 will be a better year for all.

Progress has been a snails pace on the layout since the last report but not entirely still. The train shed is located in the backyard which is also adjacent to a large garden that I have been working on. The garden always has to take second place to the layout, so when I go down the back to visit the garden I seem to go inside the shed on the way back. These visits can last from a few minutes or an hour or so, depending if lunch or afternoon tea gets in the way.

One thing you can guarantee is that there is always something to be done in the shed. One of the things we are all nearly guilty of is the collecting of items and objects for the layout 'in the future'. They are sometimes purchased because the thought is ' if I don't get them now, they might not be available in the future' This is often a true statement but there has to be a sweet spot where the bottom draw is getting emptied at the same rate as it is filling up again. I have a bottom draw that has a lot of Ian Lindsay model bits and pieces. Ian has now stopped producing his great range of products especially the O scale model parts I have obtained for future detailing. These included , drums, tanks, buffer stops, animals etc etc. These are now gold as they are no longer available from ILM models.

Sometime when I go into the shed, I might get the urge to run a train somewhere. Most of the time the trains tend to hang out at Eden. At the moment with the main line cut just beyond Broadwater where the Thomson River bridge is going and the opposite direction requiring the lift down section being lowered, any trains running at the moment just head to Broadwater and return. On the last trip some NM livestock wagons were shunted into the goods siding. Which got me thinking that I had some ILM cattle. So I got them out of the bottom draw, studied a few pictures of cows on the internet and go them painted a brown colour which was better than the resin colour they came in. Some were also painted black and white. So there are six cattle to be spread around the layout. They will either be staged in a field or be standing in a stockyard waiting for their ride to somewhere.

Naked cows

How now brown cow

Another project I have done is to do the preparation of the photos on the backdrop for the Thomson River bridge project. The initial photo was not wide enough so I needed to make another one suitable to match the left and right hand sides. With a bit of photo shopping I managed to so far get the left hand one done and fitted. There was also the need to extend the river section lower so it can blend in eventually with the river. I will cover all of this more in the next 'river bridge' update.
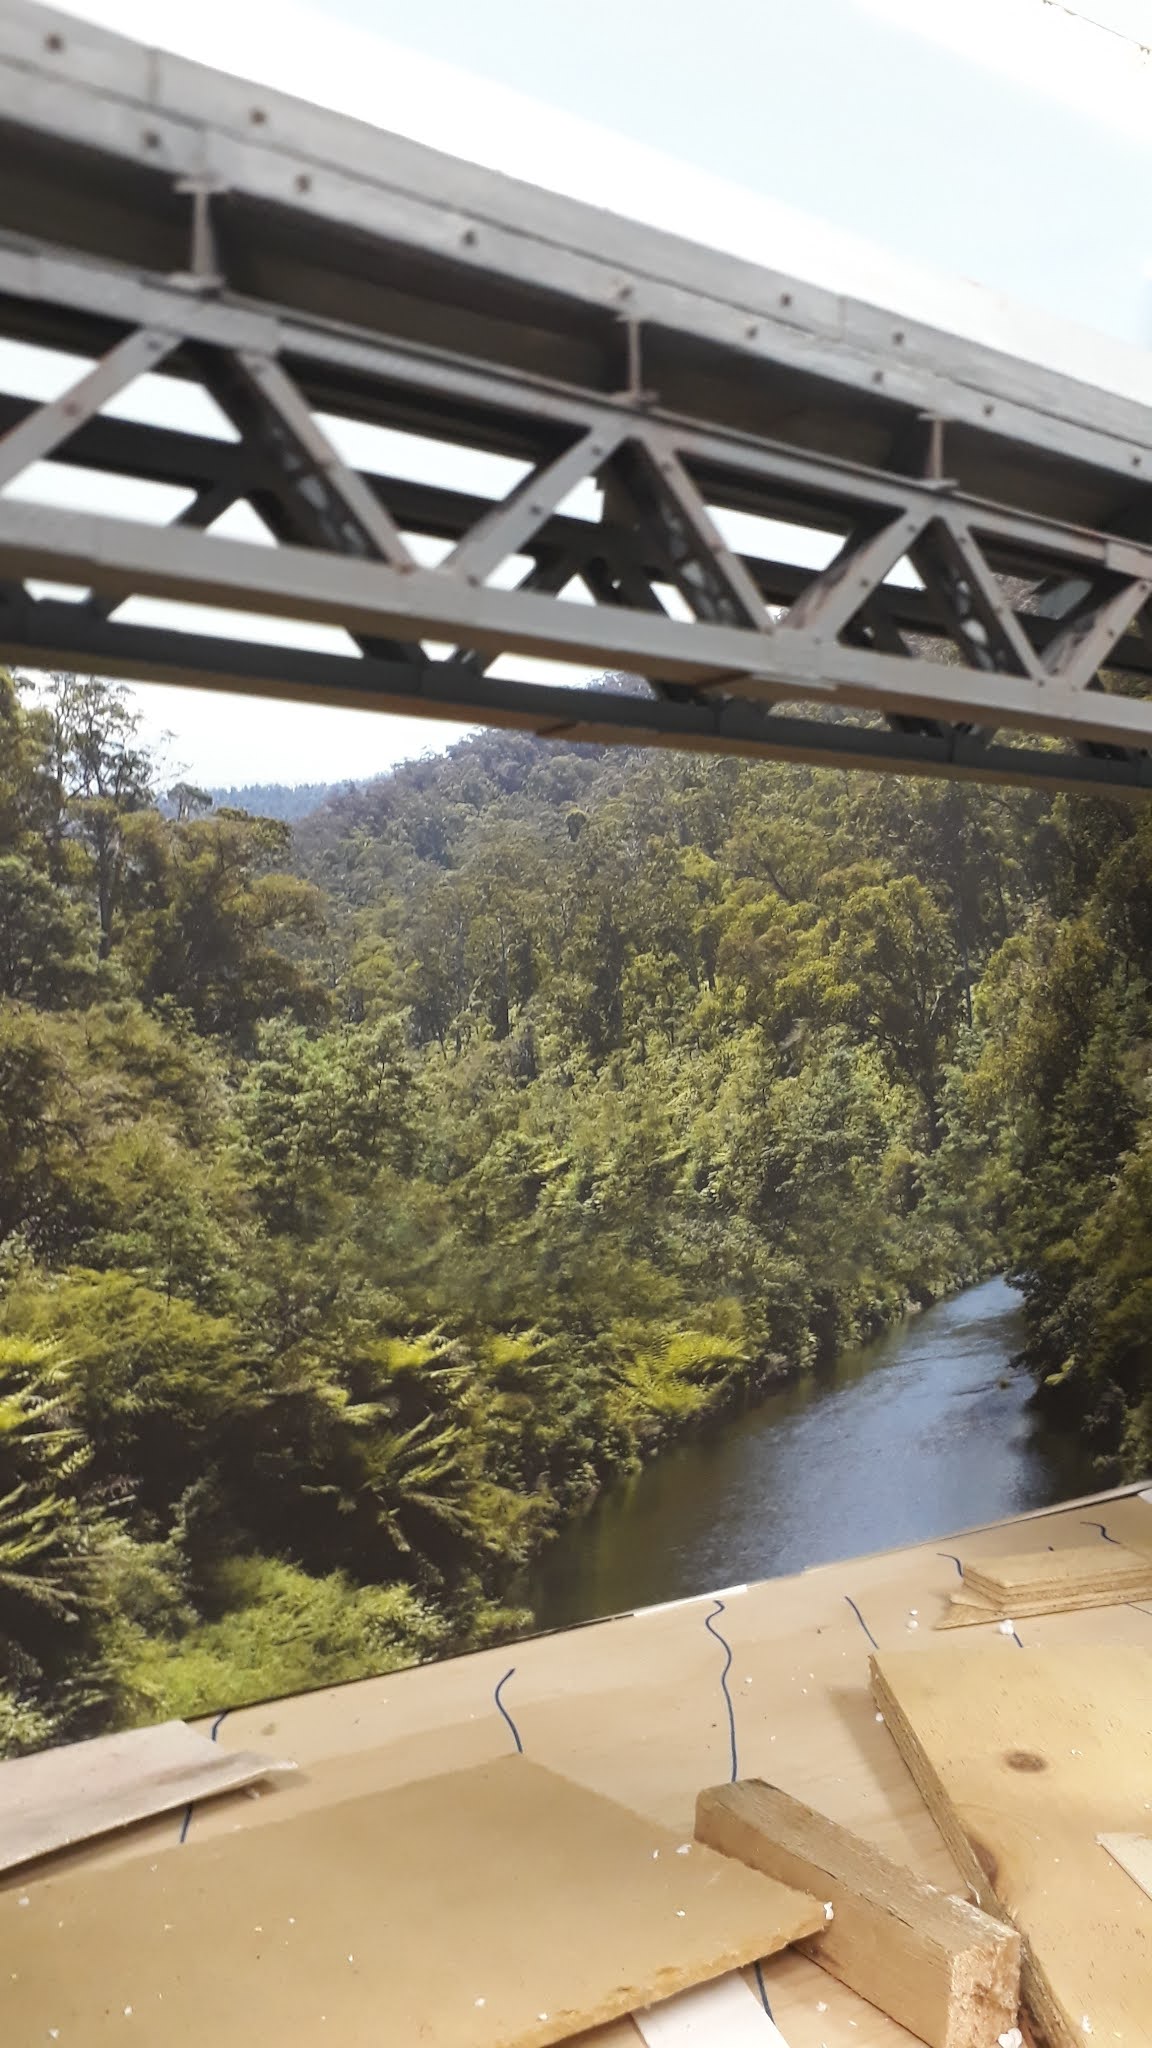
One of the great aspects of carrying a mobile phone around these days is that you always have a camera to hand. So even though at the moment I only have a few scenic spots on the layout I have included a selection of photos from around the layout. Until the next report. 


Friday, 3 December 2021

Thomson River - 8

 Time flies, last post was way back in October and here it is December. But I am not sure if I will get my dream to have trains traversing the bridge by the years end. If I don't get that goal done there is always next year. I always knew this project of the bridge would be a big time absorber.

I am happy that the bridge structure is basically done. The only other embellishment I could make would be extra supports underneath that would possibly be never seen. Maybe this is why we don't build model houses, furnish them with furniture and then wack a roof on. 

The second biggest feature of the bridge module was always going to be the background image. In the early days of dreaming of the bridge this was just a future problem to be tackled at the time, so that was put on the backburner. As shown on the previous post I made the framework for the backscene out of timber I had on hand. I know now I should have gone to the timber yard and get some full length of the module timber. In hindsight it has probably worked out OK as at each end of the baseboard the scenery will taper downwards to meet the adjoining baseboards.

I rattled through my library of Thomson River bridge photos looking for ones that would show the river heading off to the horizon and ideally enough of the trees coming down each side to the river. I got ones that were close but would require a lot of massaging in Corel Photopaint. Luckily I sourced a high resolution photo taken by a friend Bob Taaffe looking up the river. This gave me something to work with.

The starting point for the backdrop photo.

 The photo was 16mb in size so enlarging wasn't going to be a problem (I hoped) Although I have been using CorelDraw for ages, using its photo imaging package Corel Photopaint I must admit I was a bit rusty. I think I have worn out the undo button on the programme, this must be the best feature they ever designed. From the photo above I needed to stretch it to around two metres wide

After a bit of stretching

 The above photo shows the result after stretching, cloning, undoing and luckily not too much swearing. The trouble with the original photo was that there wasn't enough sky so I had to copy sky from the middle and duplicate to either side. It was also hard to get some crisp trees to duplicate to the left of the river. The tree ferns went well as I could enlarge the clone tool and copy a whole tree fern into its new spot in one go. So the bottom of the picture was easy to clone as it was just bush as opposed to cloning a tree. If you look closely some of the duplication gets a little blurry but I wasn't worried about that aspect as there will be a forest in front and this will be well into the background. The white patch on the left hand side is where the landform will cover, so there was no need to do that area.

After the last printer gave up I decided to replace it with an A3 printer. This was lucky as I was able to just print off the section showing the river and place it where it would flow under the bridge.

How's it going to look?
I was happy with the trial photo, it was going to be a lot cheaper to do an early test than get a full length photo and find out it was not right. One thing that I needed to change was the actual direction of flow of the river. The upper shot shows the river flowing across to the left, but the flow direction had to match the piers direction on the board. So again it was trial and error to work out how to cut and paste and reblend with the leftover photo. Maybe all I needed to do was to flip the original photo? All good practice though.

Backdrop backboard
As I was getting closer to getting the backdrop photo produced, it was time to do some research on how I was going to get this monster produced. I didn't fancy sticking heaps of A3 printed images together over the board. My mind immediately thought knowing the large size required that it would require a large amount of money to produce. It hard to determine an exact price online at various printers and as I had previously used Officeworks I checked there website which was fairly clear to work out. I went to my local Officeworks one day with a size larger than the actual product. I was quoted a price on bond paper but I asked if there was a vinyl option. I was familiar with vinyl backed prints as I have three scenes on this medium from Brunel Hobbies. They are already pre glued so you just have to peel off the backing paper and stick down. It is tough enough to be realigned if you hiccup first time.

On asking then for a price on pre glued vinyl I was surprised when the young lady said it would be $37. All that for a 2 metre x 50cm picture. There is a 48hr service for this, as I suppose they have to fit it in with other printing. I collect it two days later. I thought it would be a bit much to start rolling out a two metre long picture in the shop, so I hoped for the best and waited till I got home. I was very impressed with the end result.

For the time being I made the backdrop frame removable so I could lay the picture down on a flat surface. I took it up near the house and engaged the services of my wife to help roll it all out. Between us we did manage to get it rolled out and stuck down. There was a bit of 'overrun' when we got two metres away from the start point, but that can be tucked over or cut off. It was always going to be hard to match the wall colour to the sky colour on the photo but looking at the finished product, you look down on the bridge and don't notice the top too much.

A distorted panorama view from across the room

As logic would say I needed to complete the backscene and work forward. I still need to make up more photos to join onto the existing photo on the left and right hand sides. This will involve getting more suitable photos for cloning and modifying. This I am working on at the moment.

An overall view of how the bridge fits in

I think it will work! NA6 sitting there for scale
The bridge base and trestle supports in the above photos are just sitting there and haven't been secured at this stage. I am not sure how much access I will need when the river construction commences. When I look back over the years to the original temporary track on this baseboard to how far it has now come I am happy with the progress.

Bare trees now that will become a forest
So not sure if I will reach my goal by getting the track down over the bridge before years end but it is not far away. But if not we will make it in 2022.

Going to be a great spot for photos
See you all next time!