Thursday, 26 July 2018

Recipe for a Hill

I haven't been asleep at the wheel.  Cleaning up the floor is still on the bottom of the 'to do' list but it is definitely there. Shall be done (one day)
Pambula is the last station I have been working on. I could go either direction with the scenery but I felt it would be better to head towards Broadwater. The reasoning being that there are basically two baseboards between Pambula and Broadwater. One containing the bridge over the Yowaka River, the other taking the track off the bridge up an S bend to Pambula. I needed to do the hill portion into Pambula before I can set the form of the hills between the two baseboards. And also to do this I need to get started on the bridge before this can be done. Everything is set to go with the bridge, I have the laser cut beams and trusses (thanks Nathan), the timber  and nut and bolt washers(thanks The Railcar) and the photos.
Hopefully in another weeks time I will get another shot of inspiration when the 'mates' head of to another trip to Victoria. This one is identical to the one we did in August 2016. I will do a report when I get back. Part of the trip on the Sunday is behind double R class steam to Moe then a bus trip up to Walhalla where we will get to ride the Goldfields narrow gauge railway and get to admire the Thomson River bridge again. So no excuses when I get back to start on my version of the bridge.
Back to the hill, the track has been laid and I started to do the scenery work on this portion. I will let the following photos tell the story, feel free to follow and make your own hill.

RECIPE FOR A HILL
STEP 1 - Lay some temporary track, add a vehicle where the road will go, and a level crossing sign.

STEP 2 - Add a bit of foam around the edges. This give the greenery something to hang onto.
STEP 3 - Looks like this one is two layered with plenty of icing!
STEP 4 - Looks OK from both directions
STEP 5 - Looks like we have gone for chocolate icing!
STEP 6 - Definitely a chocolate cake. Some sprinkles have been laid between the track and looks like milk has been added to make it set.
STEP 7 - I got a tea spoon and table spoon of milk mixed up here but it dried out okay.
STEP 8 - Put some trimming on the cake.
STEP 9 - Add the warmth of the winter sun to set the cake quicker.
STEP 10 - Looks like it is nearly baked.
STEP 11 - Add the trimmings and its all ready to go! Enjoy.

Wednesday, 27 June 2018

Pambula Rocks

 Progress has been good since the last post and I have concentrated on getting Pambula more sceniced. That mainly requires a big pile of dirt to supply the ground cover and applying some weeds and grass to make it all look better.
On checking my bag of dirt I found that I needed a top up, so with plastic bag containing a garden scoop I headed off towards the local oval not far from here. We are fortunate? that the local council has still only provided a dirt car park. This has enabled me to cream off a top layer of dirt and whip it into the bag. I generally choose a time when it is quite and devoid of car parkers and visitors to the oval. If I choose an early morning walk or late on dusk I am generally able to get my booty with no one asking me what am I doing? How credible would the story be if I said it was for a model railway? A more likely answer would be is that I am soil sampling. Next time I should take my sieve as half the bag is too large with big stones to use, I suppose I could return it back there on the next trip. I also have to be careful in not making suspicious pot holes with my digging. I guess if I stumbled across the 'mother lode' there I wouldn't care but my takings are small.
I got caught out when doing the ground work at Pambula and ran out of dirt. Only trouble was that it had rained recently and I didn't want to be bringing mud home, preferring dirt. So after a few days of sunshine my patch was dry again and the bag refilled. Dirt does well as it represents 'dirt' which forms the basis of Pambula yard.
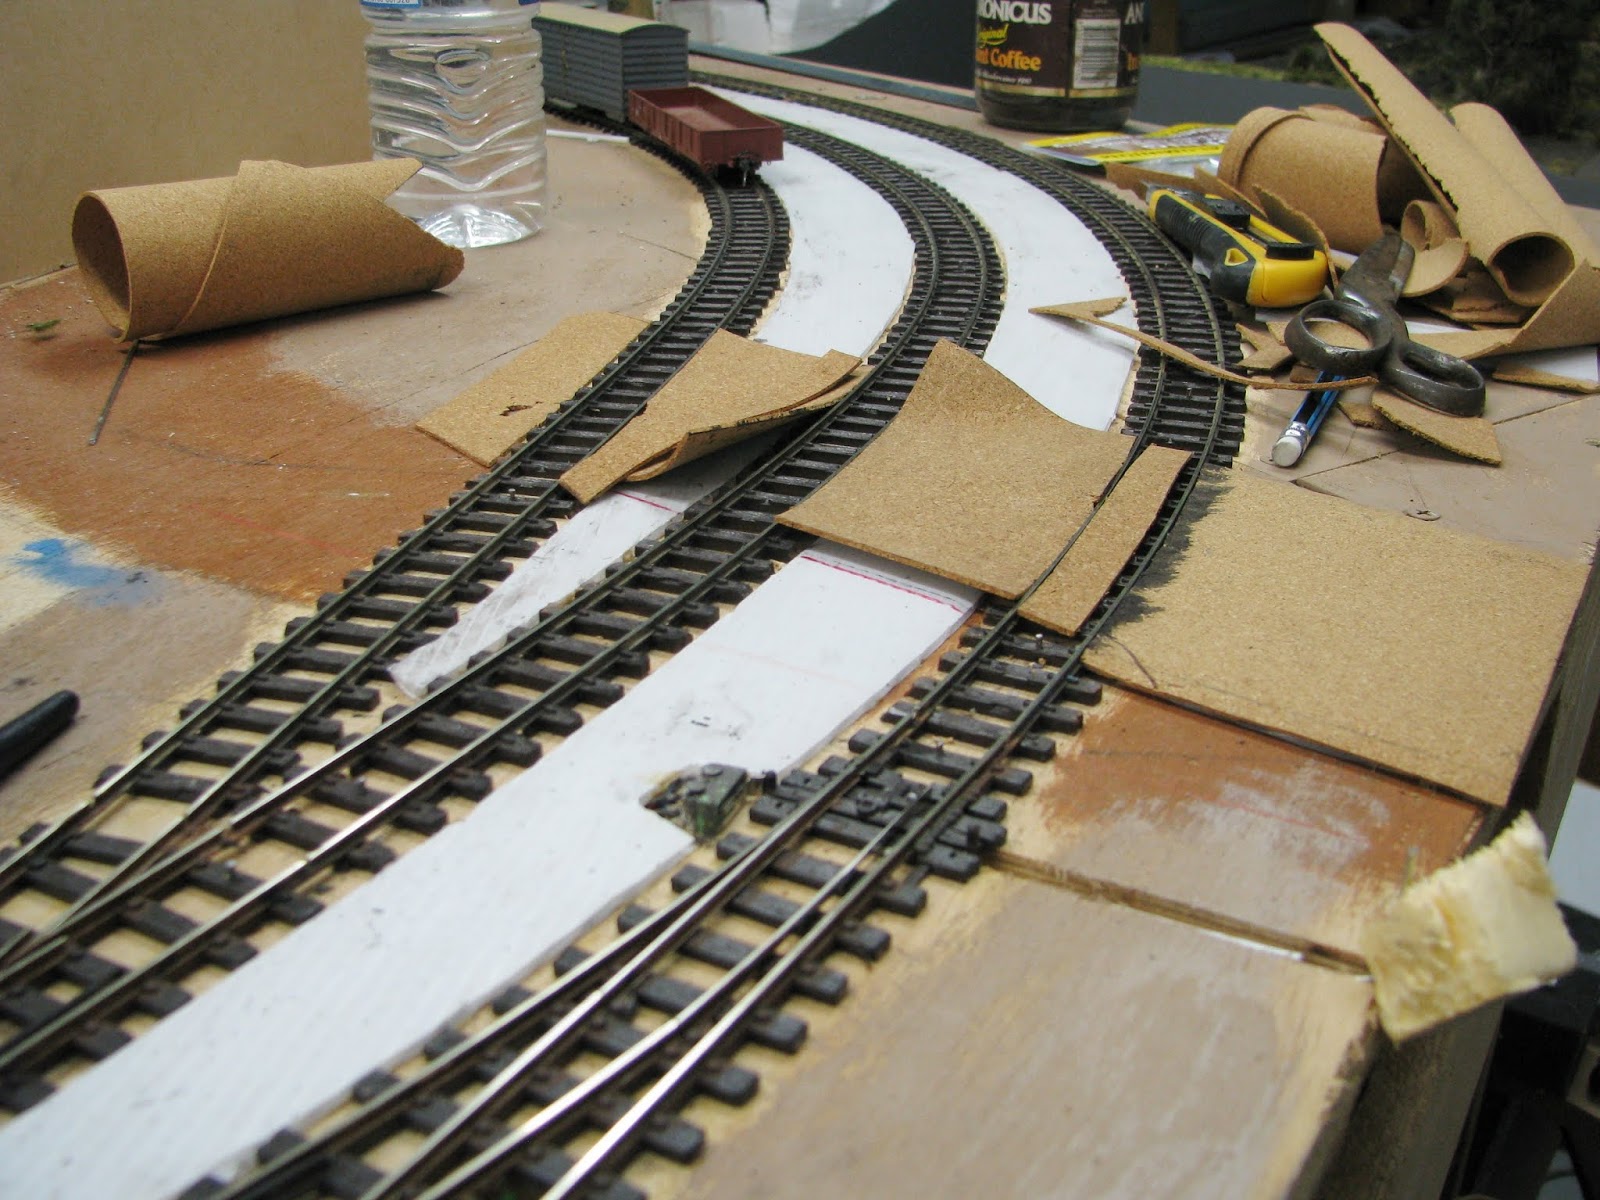
I also stumbled across a large sheet of plastic (I think it is called 'flute board' it is like cells covered each side with plastic.) This sheet was out the front of a house on a cleanup pile our local council has twice a year. Well this bit didn't go to landfill but around to the layout. In the photos you can see I have cut and placed the flute board between the tracks. I was originally going to use cork sheet which I would have had to purchase. Its purpose was to reduce the amount of dirt required between the track, the flute board bring the ground up to sleeper level. See I am environmentally minded, saving the local carpark from destruction!
The loading platform has been completed and is also covered with the dirt that is used in the yard and around the tracks. Weeds have sprung up against the woodwork. I am pleased with the end results considering it was made from scrap and a few paddle pop sticks.
In the following photos it can be seen that when the diluted pva glue is spread over the dirt, the final colour darkens. To get some variance in the dirt colour I have used some lighter coloured chalks rubbed over the dirt and a stiff brush to massage and blend in the lighter highlights. Just keep going till it looks right. 
I have also added a level crossing that provides access to the goods yard and the industry at one end of the yard. This was made using cork, similar to the one at Broadwater. It was then coloured with a bag of coloured plaster I think I have had since I was a boy. But still usable. Maybe I have spoiled them here giving them a paved crossing. The next towns crossing may have to be dirt as I think I have run out of cork.
A short length of fencing and then some weeds and grass around it brings the scene to life.
I have included now photos that are generally self explanatory and show how Pambula has been brought up from the basic track and baseboard to something a bit more scenic.
Enjoy
Flute board is laid between the tracks

The sifted dry dirt is brushed into place

Differing shades between dry and wet dirt


Sidings have been covered

Loading stage prepares to be covered
Don't worry, it dries clear!

Slow but sure work
Front edge of the loading stage

Level crossing under construction

Level crossing basically complete
Add a layer of tar and she's done

The yard slowly takes shape
A fence, a few weeds and a train

Looking the other way
Now it's starting to look like a yard. Compare with first photo

Bit of rain brings the place to life
Low level shot at the crossing
 
From the other side of the train


Wednesday, 6 June 2018

Still moving forward

Crossing the local road into Broadwater
I can't believe we are now into another winter here in Sydney. Don't get me wrong I prefer the cooler weather than the stinking heat and humidity of summer. We were punished this year with an extended summer and it has finally got cooler. Also at this time of the year I am able to open the roller door of the garage and let some of that winter sun burst in. This particular afternoon I noticed that the afternoon light had a particular reddish glow to it. I reckon that the backburning of the local bush would have added to effect. So I rolled out the camera and took a few shots to see if I could capture the lighting effect.
Into the loop at Broadwater
Drifting past a loaded log wagon awaiting pickup
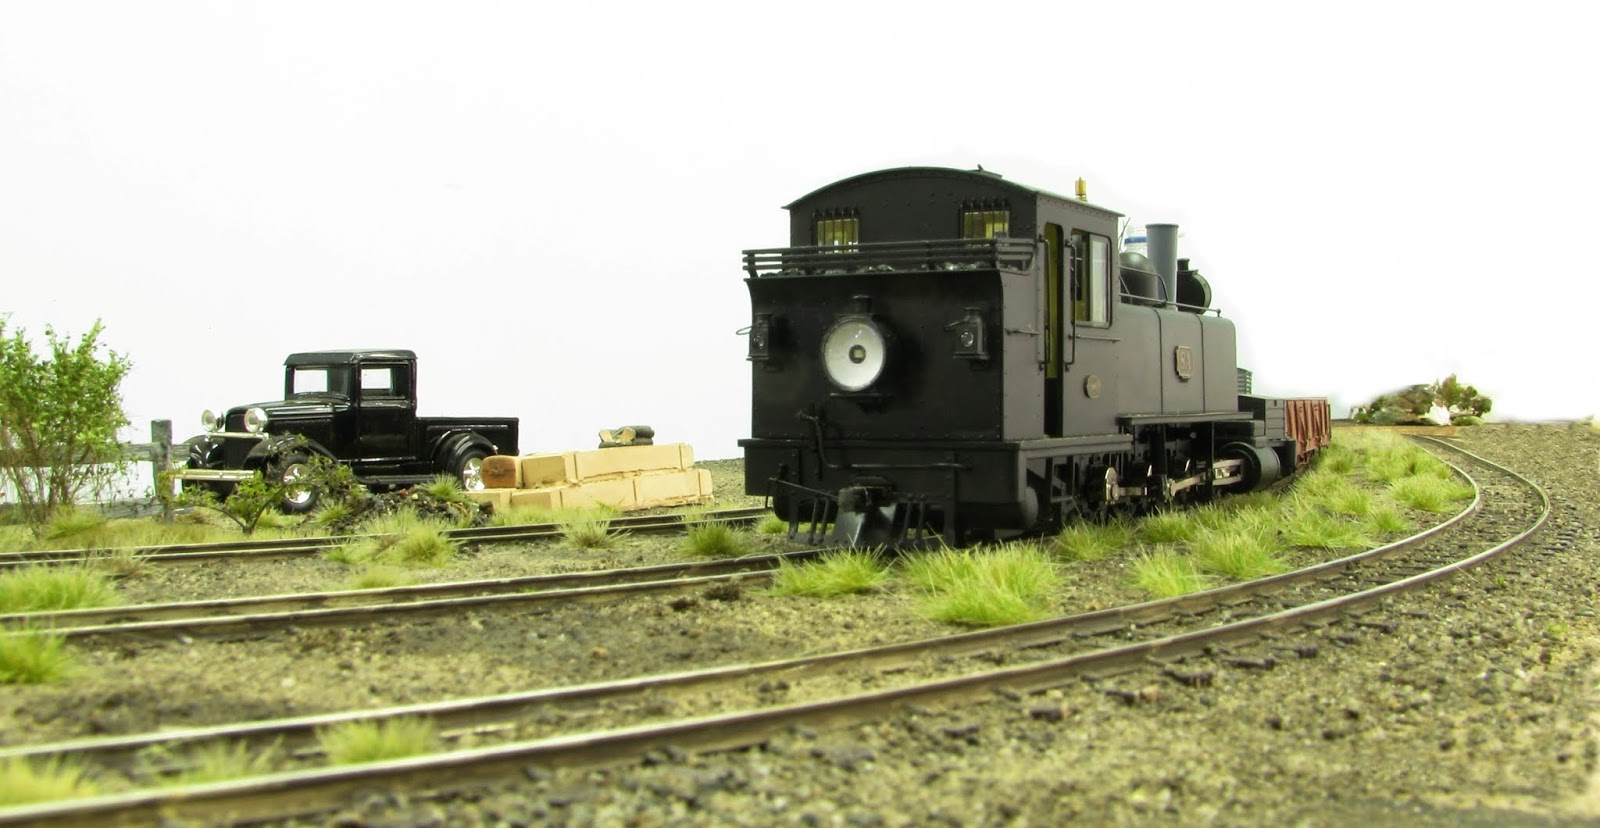
I was alerted recently to an add on Gumtree for some On30 locos and rolling stock. Two of the carriages were of the same type I am having constructed for the layout so no great interest there but they looked very nice. There was a red NA similar to the one in the photo above and 8A the only member of the VR narrow gauge that was fitted with a straight stack. I already had one of these locos fitted with a sound card. I was very tempted when the price was reduced and proceeded to obtain it. It was already fitted with a sound decoder so it would be  a straight drop onto the layout and away. Well as you know I am modelling a fictional line in southern NSW so that fact that there are two similar locos on the layout won't faze me. I actually prefer the straight stack loco so it fits right in. It has arrived from the southern state of Victoria and is now on the layout. The main current difference between mine and the previous owner is that he has fitted all the additional hardware like lamps, numbers, builders plate etc. Mine will eventually have all this fitted but with a different number.
New addition 8A with a small freight over the trestle
8A on its way to Eden
Pambula will have a goods siding and to service the vehicles I was tossing up whether to have a goods shed on a stage or just have a wooden faced loading stage. For some variety I chose the latter and found some scrap timber to build one. I felt comfortable to build this as it didn't need to be perfect. I used some scrap plywood left over from baseboard construction and the front facing timbers were made from surplus paddle pop sticks with their previous contents licked off. They required cutting in half to represent a scale size. I had no shortage of paddle pop sticks. Although the back of the stage will be nearly against the backscene I thought I had better finish it off properly and do both sides. A bonus of doing both sides is that I could pick the better of the two to face the viewer. It will eventually have a dirt covering and the height matches the floor level of an NQR wagon.
Early stage of the stage
The old HO layout is now long gone and all effort is now into the track laying and all wiring up ready for operation. Then gradually the scenery will come. Recently I had the need to get a new phone. I reckon when they originally came up with the idea that they could now combine phones and camera into the one device people would have found it hard to believe. So not only can I take photos but I recently discovered that it took panorama style photos. So I took a sweeping view of the front half of the layout as it was back in December 2017. These style of photos end up somewhat distorted but the photo shows how the current baseboards are set out in relation to each other. Now that I know how to take this style of shot it will be interesting to compare with future shots when more is completed.
Panorama of layout as at December 2017

Saturday, 19 May 2018

Pambula is next

I don't remember if I have ever been to Pambula on the Sapphire Coast. To try and recreate the town in a few square metres is virtually impossible. We can always take elements from localities to add some resemblance for the viewer to recognise. It would look odd with a desert scene in the area I am modelling.
So the next station after leaving Broadwater, crossing the Yowaka Bridge and climbing up the S bend we come to the small town of Pambula. Similar in design to Broadwater and the prototype narrow gauge will be a main line, a loop, and a goods siding. Both of these will be double ended to assist shunting. There will also be a siding for a factory/building and two other dead end sidings at each end of the yard. The station comes around from off the wall and runs into the middle of the room before heading around a right hand bend towards the next station. My aim by providing some sidings is to create shunting interest at each location rather than just go round in circles. Job cards for each train are still some time away but by early track design this will become possible.
Baseboards for Pambula under construction
One thing I have realised in doing this blog is that most of the early stages are about the construction of the layout. Apart from the corner trestle (which I had to complete before locating into place) the photos are basically boring. We must all go through this stage, construction of baseboards, wiring, track laying before any scenery can be attempted. I must say that going over to DCC has simplified wiring and when I stare at my old control panel for the HO SCR laying on the ground with its birds nest of wiring I think I made the right choice.
The narrow width of Pambula is evident in this photo.
I have also used the wire in tube method for operating the points at this location. I am also trying to keep the curves as large as possible for both appearance and operation. Although most of the locos and rolling stock can go around 18" radius curves it don't look pretty.
Opposite view to above photo
The loops will take around 7 or 8 cars plus loco which will be practical for most trains. If there is a need to operate a double headed train with more than 8 cars then with a little judicious shunting, crossings can be made. The tracks are also close to the baseboard edge so uncoupling wagons won't be a problem. One thing I have realised with O scale is there is never enough room to be able to construct a town. I am happy with this aspect as the thought of making many shops, buildings etc doesn't interest me. The trains are the key point in operating the layout, towns are all about imaging them.
Two siding added, left hand one will have a factory
That poor old station build in the above photo will eventually get glued down at Eden with the nameboard suitable changed. At the moment it is a portable prop for each location that allows me visualise how it would look. The goods shed is 'borrowed' from Broadwater at the moment and will also end up back there one day.
Pambula from the air
I have decided to construct a loading platform instead of having a goods shed there. It will be a full faced NSW style loading platform with ramps, just a matter of getting the time to do these projects.
In  the above photo on the left can be seen a portion of future baseboard that will contain a 180 degree curve. I felt that I need to provide a backdrop along this back section of Pambula to restrict the view. This will allow the operator to entirely focus on Pambula. I cut up a piece of Masonite I had and placed it along the back section and it worked quite well. It's incredible how something so simple can change a scene.
Backdrop provides focus on Pambula
I will have to get the blue paint onto the backdrop soon. The only trouble with masonite is that one side is smooth and the other side is rough, so I am not sure whether to place another sheet on the back to smooth it all out.
The building of Pambula is now the joining section of the all new baseboards to what I have retained of the old baseboards. This basically means that most of the baseboards are in place and will just require the track to be designed and laid. The other thing that this means is that from here on most of the layout is now sacrificial. The front half can be removed bit by bit but this bit - no.
My main intention is to plow on with getting all the track laid, when this is done the layout can be operated. (Assuming I have enough rolling stock assembled!) The next job is to start getting rid of as much as I can in the way of surplus timber, gyprock and other rubbish. Then will come baseboard fascias and lastly some carpet tiles to pretty it all up. The ultimate man cave.

Saturday, 28 April 2018

Side Tracked

What has become an annual event recently occurred over the weekend of 14 - 15 April when the Maitland Steam Festival was on. Usually the steam locos come from south of Sydney at Thirlmere and head up towards Maitland on the Friday prior and return the following Monday. These trains in the past were just transferred empty and missed out on potential revenue. Now you can usually join the train in Sydney and travel up to Maitland as a paying passenger. As well on the return journey you can come back from Maitland.
We only raked up three starters this year, the others coming up with excuses such as "I have to baby sit", "boring, been there done that" and other excuses.
Getting our moneys worth Kevin and I went into Central and Ross joined at Strathfield. Sydney has had an extended summer this year and Friday 13th April was no exception. Not the type of day you would want to be firing a steam loco. A different scenario years ago when firing a loco every day kept you fit, but the spasmodic running of tours these days means firing a loco is a bit of a task. Or maybe I am looking at it from my perspective. I could maybe fire out to Redfern. (1st station)
This is either for the crew or spare water for the trip!


We had a 44 class pushing us from the rear but it is just insurance in case the 36 had issues. We got plenty of looks as we steamed through the inner Sydney platforms. Ross joined us at Strathfield and then settled down for the grades up to Hornsby. An uneventful trip down to Gosford and although I have done that trip countless times I still enjoy it. Traveling along the shores of Mullet Creek you could be in the middle of nowhere, but after going through the long Woy Woy tunnel, upon exiting you come back to civilisation. Gosford was a one hour stop to feed the loco more water and the passengers. The following photo taken by Kevin shows what an Aussie can do on a stinking hot day after firing a loco from Sydney to Gosford. What do you do? Sit down on the platform, rest up against the loco and devour a meat pie complete with the tomato sauce. The photo says it all.
Pie time
Eventually we reached Maitland where all the events we to be held over the weekend. The garratt loco 6029 also made the trip up there as both the 38's seem to resisting any attempt to get them back running again. May be next year we might see the green giants back again? Return back was by local services to Hamilton and then intercity train back towards Sydney. We will see what eventuates next year.
3642 arrives at Maitland. Kevin Waid photo.
That was the 'away from the shed' activity and now a report on what's been happening to SCR. Coming along the far wall of the shed next to the Yowaka River baseboard is a board having an uphill S bend section that will connect into the Pambula baseboard. From this section onwards the baseboards will all be a permanent fixture. So basically unmovable unlike the first seven baseboards built which can be removed and hopefully end up a 'better place' and not in the skip bin.
Next baseboard under construction. Don't look at the junk underneath!

The long boards shown the direction Pambula will go
As I have said on past blogs it is a big job to remove the old layout and clean up the years of junk that seems to naturally accumulate. I am sure that's why curtains were invented to hide it all. Over the years my carpentry has not improved but knowing that it all gets covered up in the end keeps me going.
Ply sheet laid out ready for track design
The track coming off the Yakawa Bridge is at an angle and will go into an 'S' bend to climb up towards Pambula. I am a big fan of curved tracks and other than at stations most of the track will have a curve. There will be a road intersecting this board. The road climbs uphill and will cross the track also climbing uphill. This should allow for plenty of scenic scope. I have it planned out in my head but you will have to wait until I have the chance to scenic.
Changes on the run

A dry run to see how it all fits the scene
I used the 'cookie cutter' style for the baseboards. The cut out bits form the base where scenery will go. One thing I was a bit concerned with was actually constructing all the baseboards laying the track and then finding out the grade is too steep for your standard train to run. The only option is to have the baseboard built, lay the track and then do some testing. What is my benchmark train that has to be able to traverse the whole layout is an NA loco, six Bachmann coal hoppers and a brakevan. Although in regular service the NA's won't be operating the coal trains for operating variation in the future they might be called upon to to the 'coal run'.
Tracks are down
The only way to test the load was to get some track down. The 'S' bend was laid and trials found out that a coal train hauled by the NA was OK.
I am looking forward to doing the scenery on this section, plenty of greenery.
My main target is to get the baseboards all done, lay the track and then start on the scenery side of the layout, what I am looking forward to. Hopefully on the next blog there will be some details of Pambula the third station out from Eden.